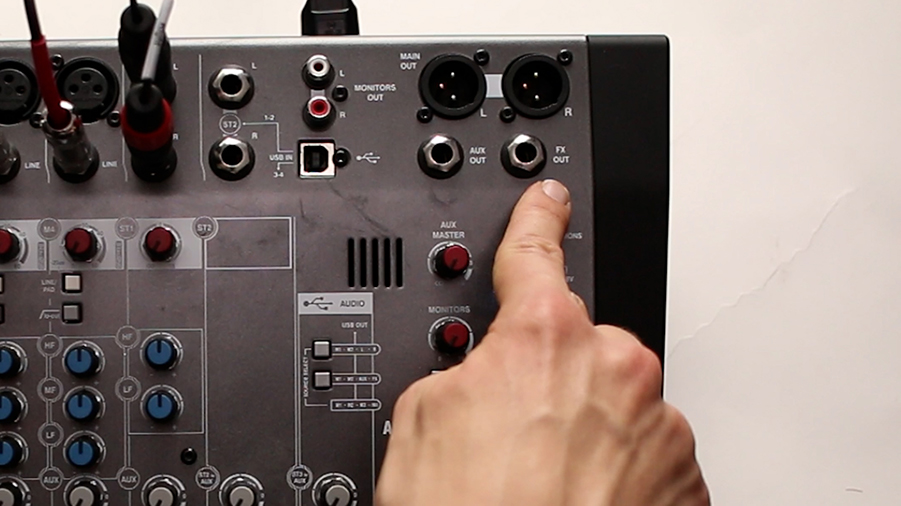
The Allen & Heath ZEDi 10 mixers are amazingly powerful for the price and could be a perfect fit for musicians, podcasters, and home recording studios on a budget.
For just over $200, you get four mic preamps and a 4×4 USB interface, which allows you to record up to four discrete tracks into your DAW.
In this post, I’ll show you the most important features of this mixer so you can decide if it’s the right fit for you.
Full Disclosure: This is NOT a sponsored post. I have personally used this mixer and wanted to show you what I like about it and what I don’t like. If you decide that this mixer is a good fit, buying through the links in this post will help support Audio University at no extra cost to you.
By the way, if you’re just starting to build out your recording studio, check out this free checklist I put together to help you make sure that you’ve got everything you need.
Inputs
Let’s start with a quick look at the inputs. The ZEDi 10 mixers have a total of 10 inputs, but the type of source you can connect to each input varies.
XLR Inputs
The first four channels have XLR inputs with built-in microphone preamps. These are the only four inputs that you can connect a microphone to directly.
You can connect dynamic mics or condenser mics, using a global switch to supply phantom power to all of the microphone inputs.

Line Inputs
You can also connect line level sources to the first four input channels. Common line level inputs include smartphones, laptops, keyboards, turntables, etc.

The two stereo inputs are useful if you have a stereo left and right signal from a line level device, such as music from a smartphone.
The left and right signals stay separated, but you can use a single channel strip to easily control them together.

It’s important to note that stereo input one has a preamp that you can use to turn up quiet signals, but stereo input two does not.
Although the lack of a preamp on the second stereo input shouldn’t be an issue if the source has it’s own output level control, you’ll have no ability to turn up quiet sources that don’t their own output level control – just something to keep in mind.
Instrument Inputs
If you have an instrument level source, like an electric guitar or bass guitar, you can connect them directly to one of the first two channels.
Pressing this instrument switch effectively turns the channel into a direct box input.

USB Inputs
To recap, we’ve got two inputs that accept either mic level, line level, or instrument level; two inputs that accept either mic level or line level; and a total of four line level inputs using these two stereo channels. If you’re keeping count, that’s only 8 inputs.
The ninth and tenth inputs are the inputs from a USB device that can come into the mixer on stereo input 3. We’ll talk more about the USB configurations later in the video.
HPF & EQ
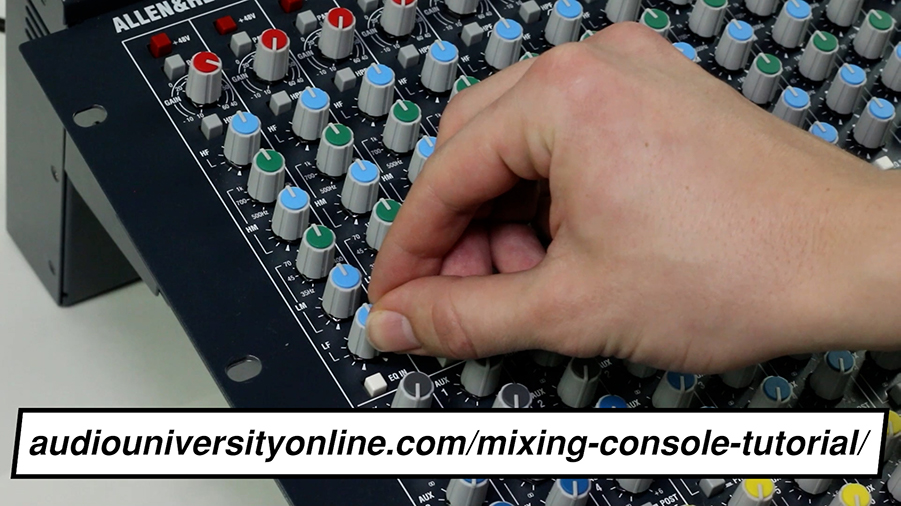
The first four channels have a high pass filter and a 3-band EQ, which can be useful for making small adjustments. You’ll also find a 2-band EQ on stereo input one.

Outputs
Now let’s look at the output capabilities of the ZEDi 10 mixers. There are endless ways to use each output, but I’ll go through a few common ways that you might use each output.
Main XLR Output
First, you’ve got the two main XLR outputs. These would usually be connected to your main speakers in a live event or to your studio monitors in a recording studio.
To route signals to the main outputs, you adjust the Mix knob at the bottom of each channel strip.

Aux Out & FX Out
You’ve also got a pair of auxiliary outputs. One is called Aux Out and the other is called FX Out.
These could be used to route signals to a pair of stage monitors in a live performance so that the musicians can hear themselves play, you could also use these outputs to create headphone mixes for musicians (but you’ll need to use an external headphone amplifier to do that), or another common use for an FX send is to route signals to a FX processor, like a reverb.
You can route signals to these outputs by using the aux send knobs on each channel strip.

Headphone Output
The built-in headphone output lets you listen to the mix as a whole or solo individual sources without disrupting the sound coming through the main outputs.

USB Interface
One of the best features of the ZEDi 10 mixers is the built-in USB interface.
Most mixers with built-in USB only let you record the main output of the console, mixing the inputs together into two tracks in your DAW. However, these mixers let you record four separate tracks in your DAW, which is a huge advantage if you’re recording a band or a podcast.

USB I/O Configurations
Depending on how you’re using the mixer, there are a few ways you might choose to configure the USB input and outputs.
The first option is to route mic input 1, 2, 3, and 4 to the computer. This would allow you to record four instruments or four podcast guests to separate channels in your recording software.
The second option is to route mic input 1, mic input 2, and the main outputs to the computer.
The third option is to route mic input 1, mic input 2, aux out, and FX out to the computer.

Is The Allen & Heath ZEDi-10 Mixer Worth The Money?
Honestly, I’m blown away by the features you get with this mixer at such a low price.
If I were trying to record music or a podcast with more than 2 guests for under $250, I would go with the ZEDi-10.
If you’re using this mixer for live sound, it might be worth spending the extra money for the ZEDi-10FX so that you get access to the built-in reverb and delay effects, but for those just using this in a home studio, I don’t think the ZEDi 10FX is worth the extra money. You’ve probably got reverb and delay built into your DAW already, so there’s no need for the built-in effects.
Again, if you’re thinking about getting one for yourself, buying through the links in the post will help support Audio University at no extra cost to you.
How To Use A Mixer
If you want some help learning how to use this mixer (or any mixer), I posted a video on the Audio University website that will step you through everything you need to know. Visit that post here: Audio Mixing Console Quick Start Guide

