When I finally decided to order my Universal Audio Apollo Twin audio interface, (I’ll be honest) I was a bit unsure if it would be worth the money. It was not easy to click that “Buy Now” button, knowing that I could get a different 2-channel interface for a fraction of the cost.
Fast forwarding to today (after using the Apollo Twin for a couple of weeks), I can safely say that it was well worth the investment – for me. But is this interface right for everyone?
If you’re trying to decide if you should buy an Apollo Twin interface, you’re going to find this post very helpful. I’ll show you the features that make these interfaces so good, I’ll demonstrate some of those features with audio examples, and at the end you’ll have a better idea of why this interface is or isn’t the right choice for you.

By the way, this is NOT a sponsored post!
So, you don’t need to worry about any bias in this video. I’m here to show you the good, the bad, and the ugly… Luckily, with this particular interface it’s mostly good.
If you click any of the product links in this post, a portion of your purchase will go toward Audio University at no extra cost to you. But that will happen even if you decide to buy a different interface – it’s just a way to support the channel for helping you decide for or against this product.
Now, let’s get started.
What Makes UAD Apollo Interfaces So Good?
The biggest difference between the Apollo interfaces and most other audio interfaces is the onboard DSP, or digital signal processing. Using the processors built-in to these interfaces, you can cut the latency down to almost zero.
Latency is delay that’s caused by signal processing.
You’ve probably experienced latency when recording with input monitoring. For me, this is a big problem when recording vocals or electric guitar.
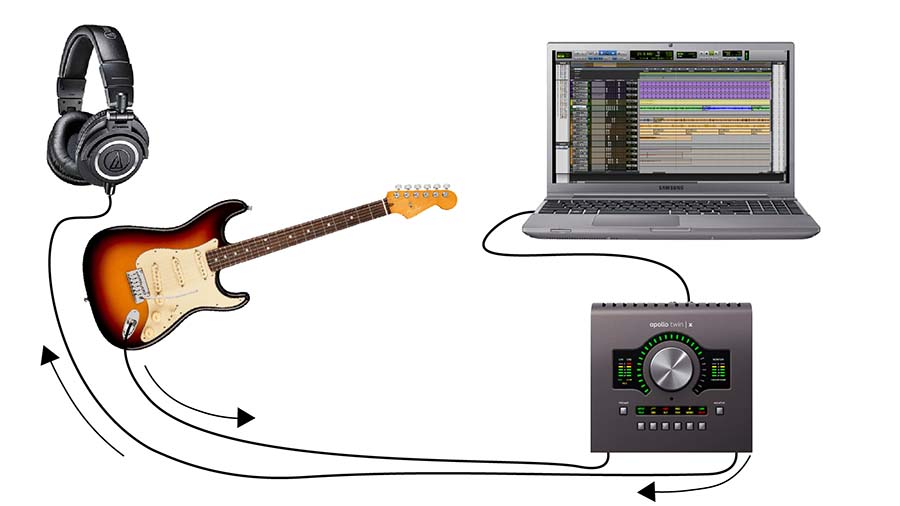
With my old interface, there was always a subtle (or not-so-subtle) delay between the moment I’d play a note on my guitar and the moment I’d hear that note through my headphones.
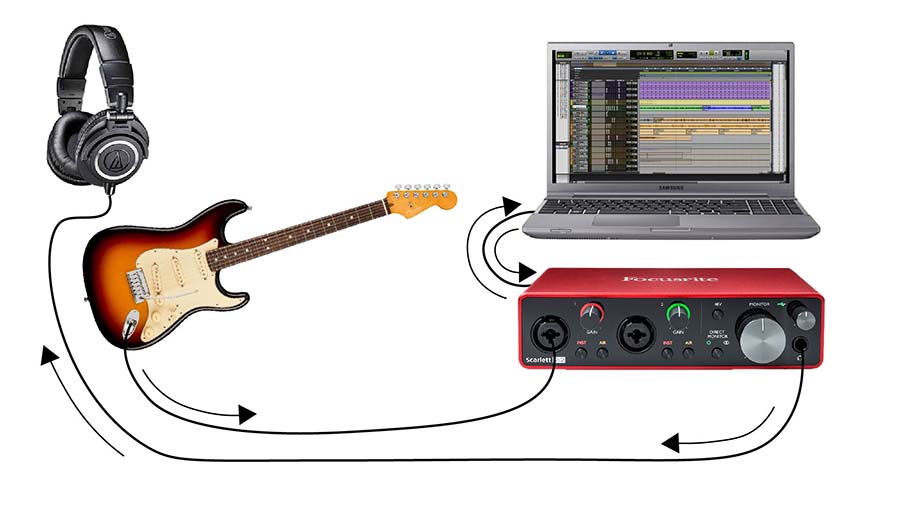
The delay was a result of the signal taking it’s path from my guitar, through my interface, into my computer, through the DAW and plugins, and back out of my interface into my headphones.
Latency makes performing a good take almost impossible, especially when playing to existing tracks.
The Apollo interfaces handle input monitoring a bit differently. Instead of passing the signal through the computer, the signal is processed directly on the interface itself, cutting the latency down to basically nothing.
That means that when I play my guitar or sing, the monitoring is much more natural in my headphones.
Plus, you get access to a handful of Universal Audio plugins, which are some of the best in the world – preamps, EQs, compressors, reverb…
It’s like having a rack of vintage analog gear at your fingertips, something I never imagined I would experience.
Not only can you run these plugins for input monitoring, but you can also load them into your DAW and use them alongside your other favorite plugins for mixing.
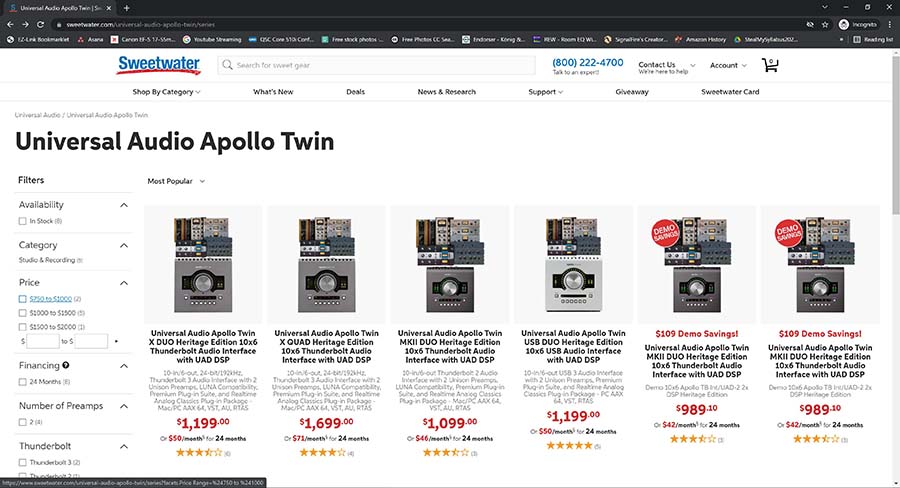
What’s The Difference Between Apollo Twin DUO & Apollo Twin QUAD?
Now that you know what the built-in DSP does, it’s easier to understand the difference between the various Apollo interfaces.
You’ll notice that the Apollo Twin comes in a few different versions. The difference between each of these is the number of processing cores built-in to the interface.
I’ve got the Apollo Twin DUO, which means it has a dual-core processor. The Apollo Twin QUAD has a quad-core processor.
What does this mean for you? The more cores, the more UA plugins you can run simultaneously.
If you plan to use a lot of UA plugins in large sessions with lots of tracks, you’ll probably want the QUAD version.
However, I’ve been very pleased with the DUO. I rarely run out of DSP for UA plugins – and if I do, I can just use other plugins that run on my computer’s processor instead.
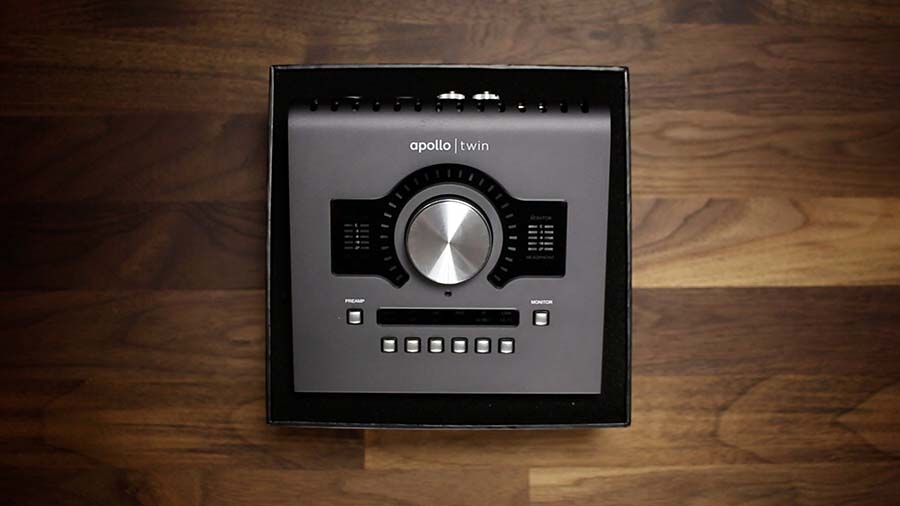
Unboxing
Let’s take a look at what comes inside the box.
Inside, you’ll find the interface, a locking power supply, and instructions for registering your interface and the included plugins.
You’ll notice that there isn’t a Thunderbolt cable included. I’ll be honest, that’s kind of a slap in the face.
You can order the cable on Amazon. Depending on the type of connection you have on your computer, you’ll need either a Thunderbolt 2 cable or a Thunderbolt 3 cable. You might even need a Thunderbolt to Thunderbolt 3 adapter.
Build Quality
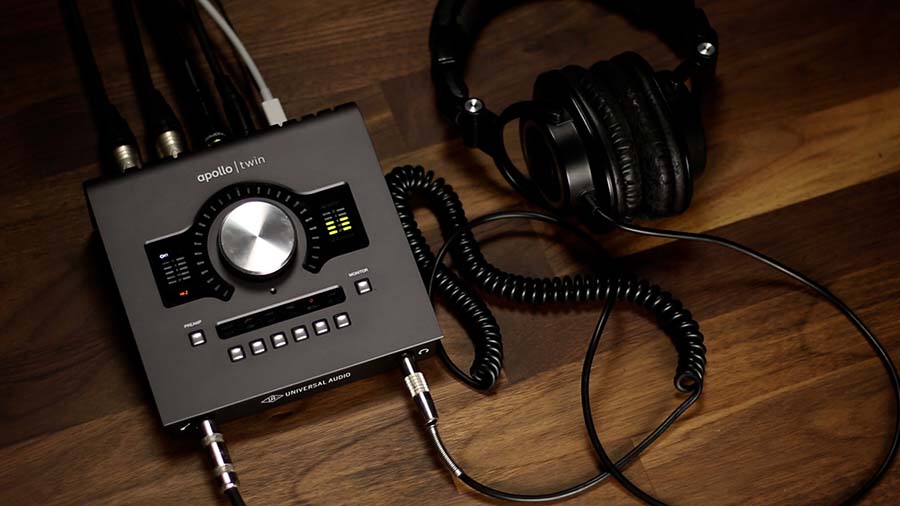
When I received my interface in the mail, I was pleasantly surprised by the build quality. It’s almost twice as heavy as the Focusrite Scarlett 2i2 and feels much more robust.
The knob, buttons, and connections feel sturdy, and the whole chassis is metal.
These interfaces do get quite warm, but that’s just because they need to stay cool inside without causing a bunch of noise with fans. This interface is extremely quiet, which is essential for recording and mixing.

Settings & Features
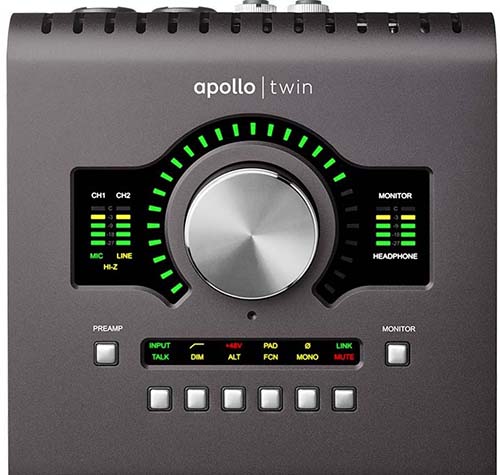
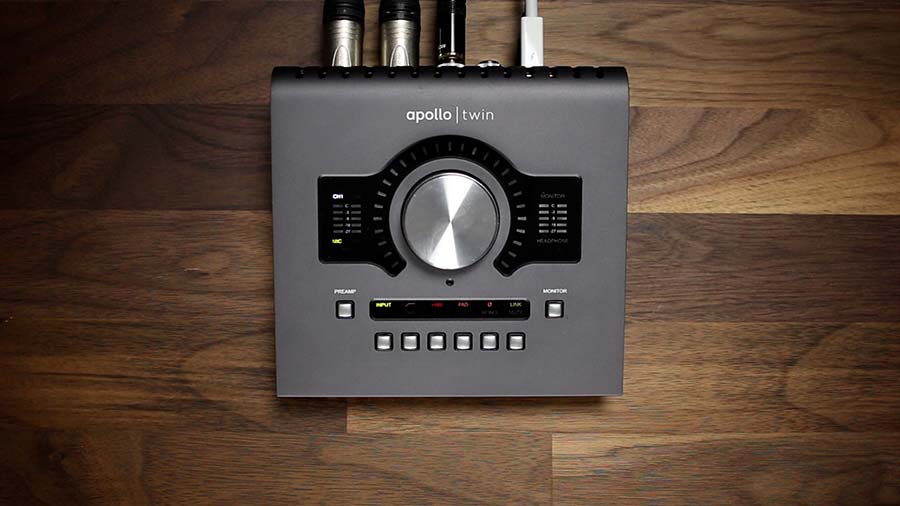
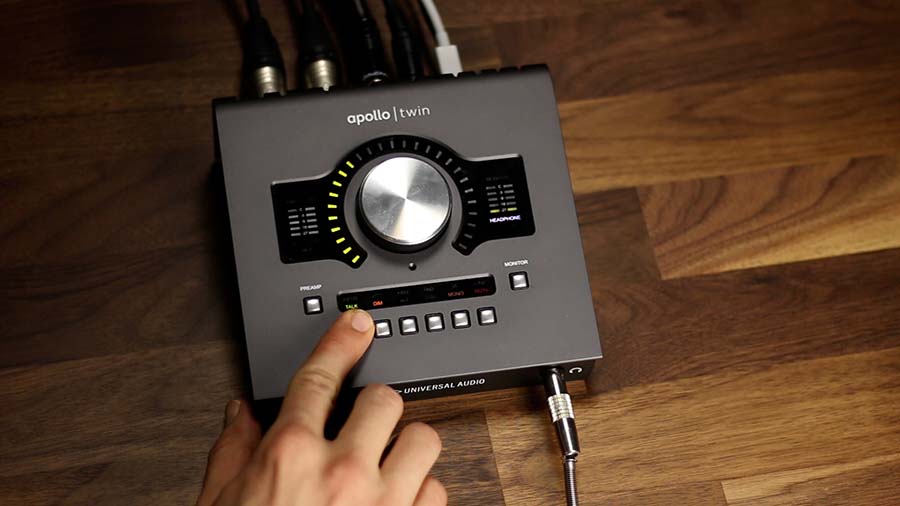
What I’ve learned is that the Apollo interfaces are like a virtual mixing console. The control surface may seem basic, but there is a lot you can do from right here on the front panel.
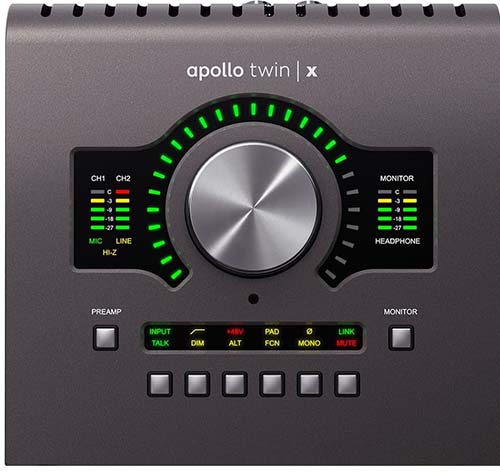
Controls
The main knob is used for controlling input gain and output volume. You just need to select which parameter you want to control. You can toggle between input 1 and 2 using this ‘Preamp’ button. You can toggle between the monitor and headphone output volume using the ‘Monitor’ button.
When controlling the input preamp level, you’ve got the following options:
- Mic Level / Line Level
- High Pass Filter
- Phantom Power
- Pad
- Polarity Switch
- Link (for recording in stereo)
When controlling the monitor or headphone output level, you’ve got the following options:
- Talkback Mic (we’ll take a closer look at this later).
- Dim (reduces “Monitor” output level by -20 dB)
- Mono
- Mute
- ALT (for alternating monitors)

Rear Panel Connections
On the back of the interface, you’ll find a power switch and the following connections:
- Depending on which model you’re using, you’ll find either a Thunderbolt or Thunderbolt 3
- (2) XLR/¼-inch combo inputs
- (2) ¼-inch monitor outputs
- (2) ¼-inch line outputs
- Optical Toslink input (to connect preamps or other sources with ADAT or SPDIF)

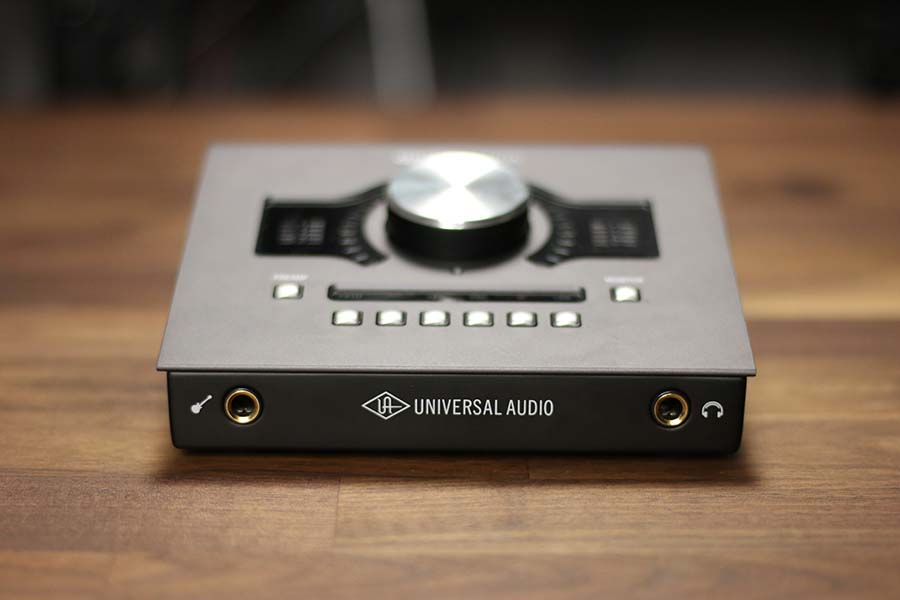
Front Panel Connections
On the front of the interface, you’ll find the following connections:
- Hi-Z Instrument Input
- Headphone output
Remember – this instrument input overrides Input 1 on the back. You can only use one at a time.
Microphone Preamp Test
I’ve got a Shure SM7b – a microphone that is notorious for needing a lot of preamp gain. When using the SM7b with most interfaces, you’ll need to use a Cloudlifter or another signal booster.
The Apollo Twin preamps are able to provide enough gain for my voice through this microphone, even without a Cloudlifter.
Compared to most interfaces I’ve used in the past, the preamps in the Apollo have little inherent noise. In practice, that means that you can record quiet sound sources and layer more tracks without experiencing a significant build-up of noise.
You can hear the test for yourself in the video at the top of this page.

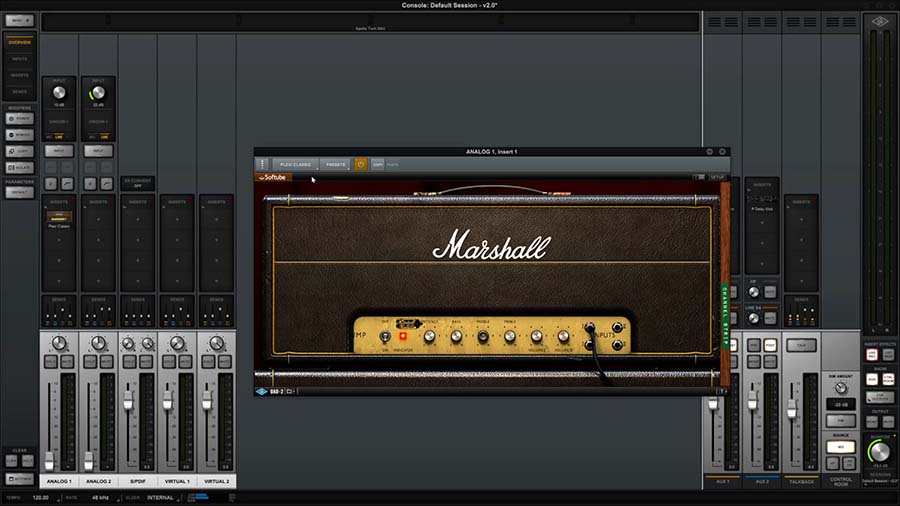
DI Instrument & Guitar Input Test
Like I said before, the Apollo interface comes with some UA plugins, including a guitar amp simulator and a bass amp simulator.
These make for a very realistic, low-latency option for recording a pro-quality amp without the cost and noise of a real amplifier.
You can hear what these simulators sound like using the ¼-inch instrument input on the front of the interface in the video at the top of this page.
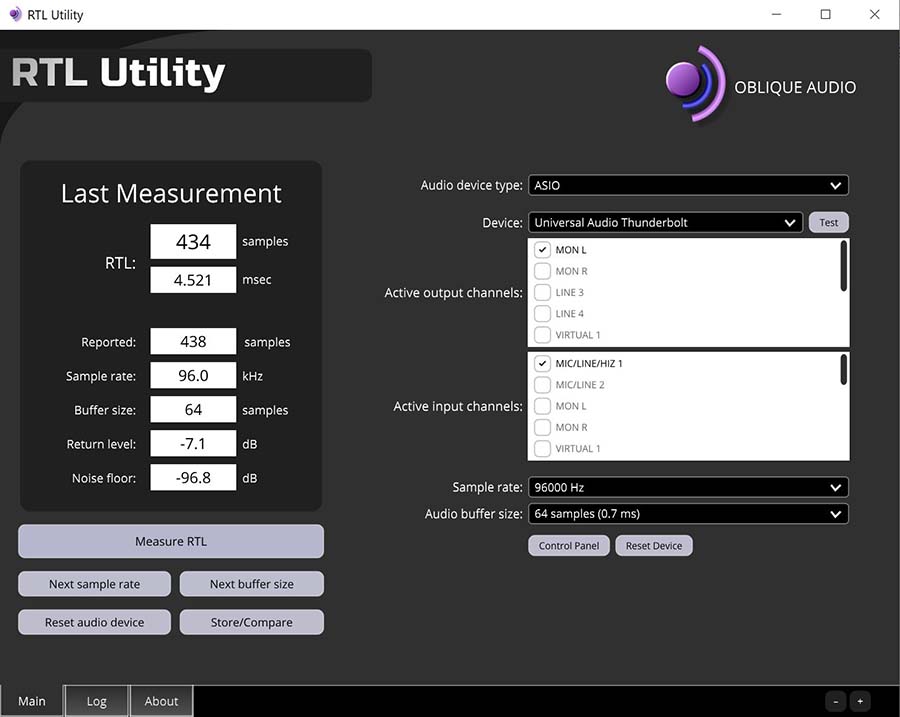
Latency Test
The roundtrip latency is the time it takes for a signal to pass from the input of the interface, through the DAW, and back out through the output of the interface.
As you can see in the test results below, the roundtrip latency of the Apollo Twin is nearly non-existent. The latency when monitoring through the built-in DSP is even better!
The latency of these interfaces is so low that I’m not even sure if it’s possible to notice it. To me, it sounds like I’m just monitoring through an analog console.
Headphone Amplifier Test
The headphone amplifier on this interface is very powerful. With my Audio-Technica ATH-M50x headphones, I’ve never turned it up past the halfway point.
If you use headphones that are notoriously power hungry, I expect you’ll have no problem getting all of the power you need with this interface.
Talkback Microphone Test
The Apollo Twin interface also has a talkback feature. The talkback feature is useful if you record other musicians.
Imagine you have the interface and studio monitors set up in a control room and a performer is recording in a booth or a separate room.
Using the talkback mic, you can communicate with the talent without using an input channel for your microphone. You just simply press the “TALK” button and your voice will be heard through the performer’s headphones.
It doesn’t sound great, but that’s not the point of this feature so that’s to be expected.
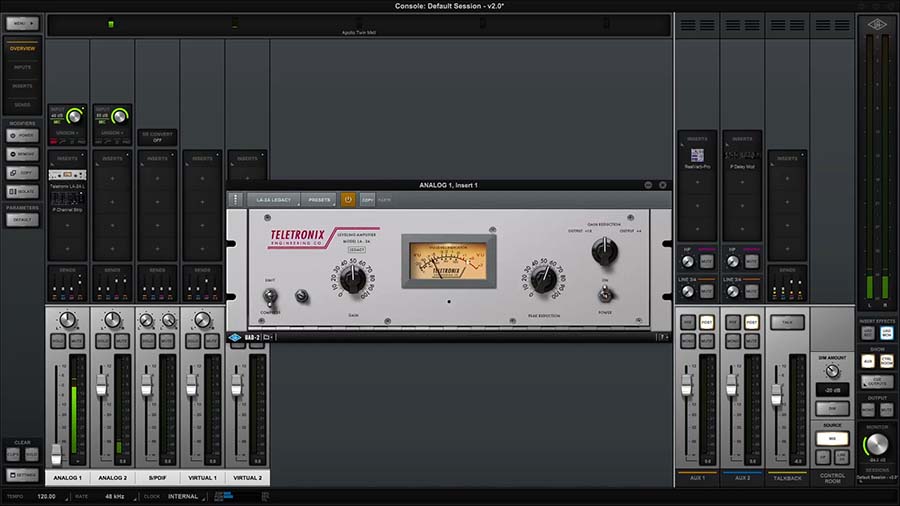
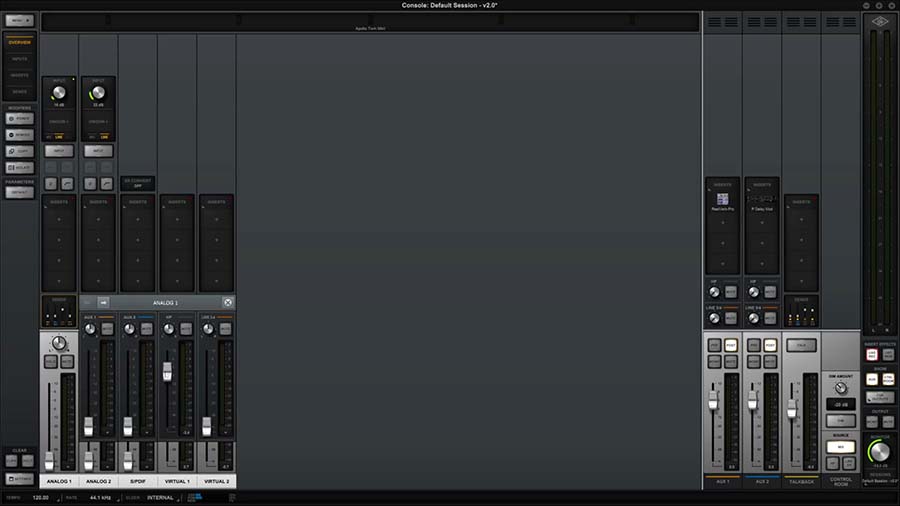
Universal Audio Console Software
The Universal Audio Console app is really impressive! It gives you controls that basically turn the Apollo system into a virtual mixing console.
I can intuitively route any input to any output, create headphone mixes, and insert UA plugins for monitoring and recording.
The possibilities are endless!
Pros & Cons
There really aren’t many cons to the Apollo interfaces aside from the cost. The interface isn’t cheap, which is why it took so long for me to finally buy one.
Also, I’m glad that you get some UA plugins free with the interface, because UA plugins are also quite expensive – and rightfully so, because they’re incredible.
While I wouldn’t recommend this interface for anyone on a super tight budget, those who can afford to invest in one will certainly be glad they did. It is a pro-quality interface from the preamps, to the converters, to the advanced features.
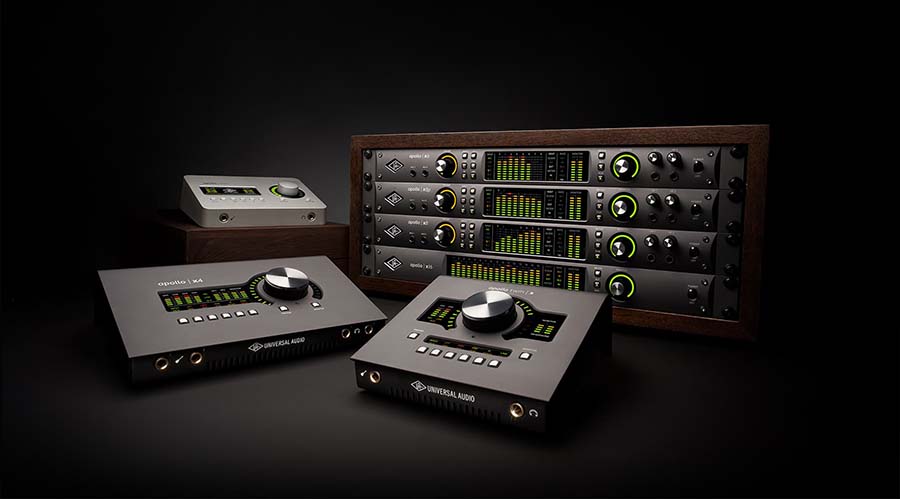
Not only is the Apollo Twin very powerful on its own, but it can be expanded with other Apollo interfaces. That means you can build a network of Apollo interfaces that can be controlled as a single system in the Console software!