In this post, you’ll learn a few stereo microphone techniques that every audio engineer should know. The techniques you’re about to learn will help you make your audio project more immersive for the listener.
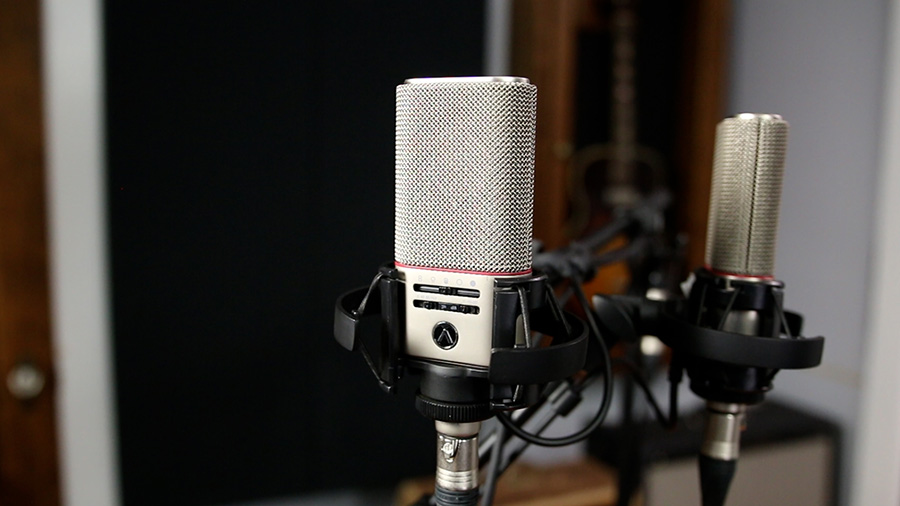
This post is sponsored by Austrian Audio. They sent me two Austrian Audio OC818 microphones, which are the perfect microphone for demonstrating stereo recording. Thanks to Austrian Audio for making this content possible.
Coincident Pair Microphone Techniques
The first category of stereo microphone technique I want to show you is the coincident pair. The techniques in this category are called “coincident pairs” because the two microphones are placed so that sound from any direction on the horizontal plane reaches both microphones at the same time.
The main advantage of a coincident pair is that the two signals will remain time aligned, which means they are mono compatible. In other words, there won’t be any cancellation between the left and right signal if the two signals are to be summed together and played back through a single speaker.
Technique #1: XY
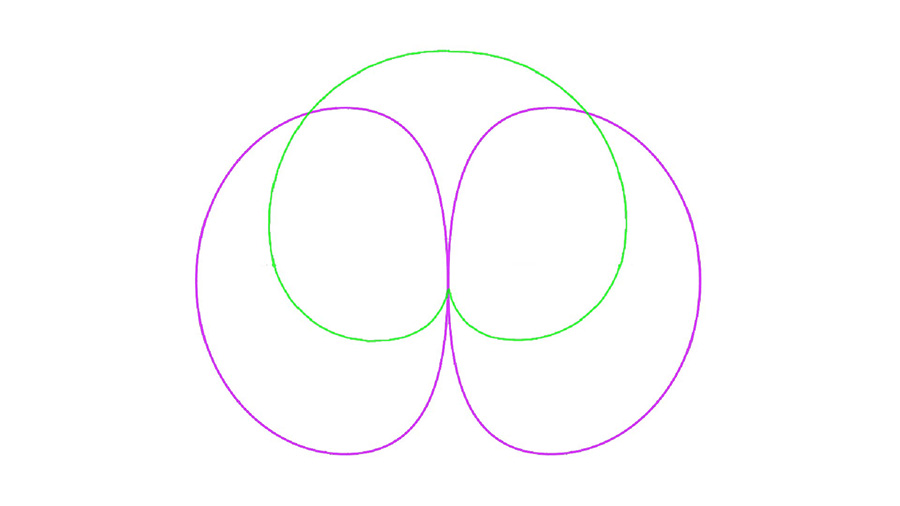
The XY microphone technique utilizes two directional microphones with the capsules placed perpendicular to one another.
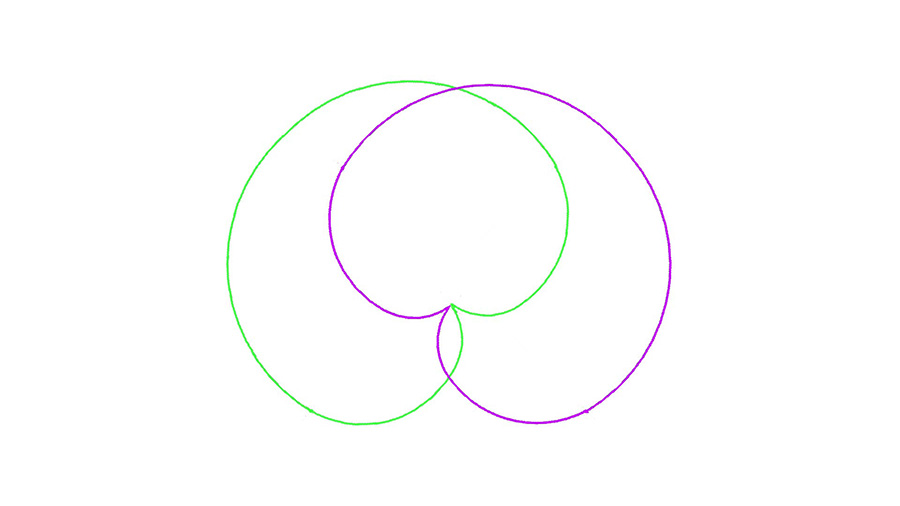
The left microphone capsule points 45-degrees to the left and the right capsule points 45-degrees to the right, which results in a 90-degree offset between the two microphones. Because the capsules occupy the same point in space with respect to the source, this technique is considered a coincident pair.
I’ll route the left microphone signal to the left speaker and the right microphone to the right speaker.
Because these microphones are in cardioid mode, sound originating from the left will be on-axis to the left mic and off-axis to the right mic, resulting in a louder signal in the left microphone with a more linear frequency response.
This mimics the way humans localize sounds by creating an interaural level difference (or ILD) between the left and right speaker when played back for the listener. Sounds originating from the center will appear to be in the center when played back through speakers because the signal level will be equal in both microphones.
You can experiment by increasing the angle between the two microphones beyond 90 degrees for a wider image with a less-prominent center.
Technique #2: Blumlein
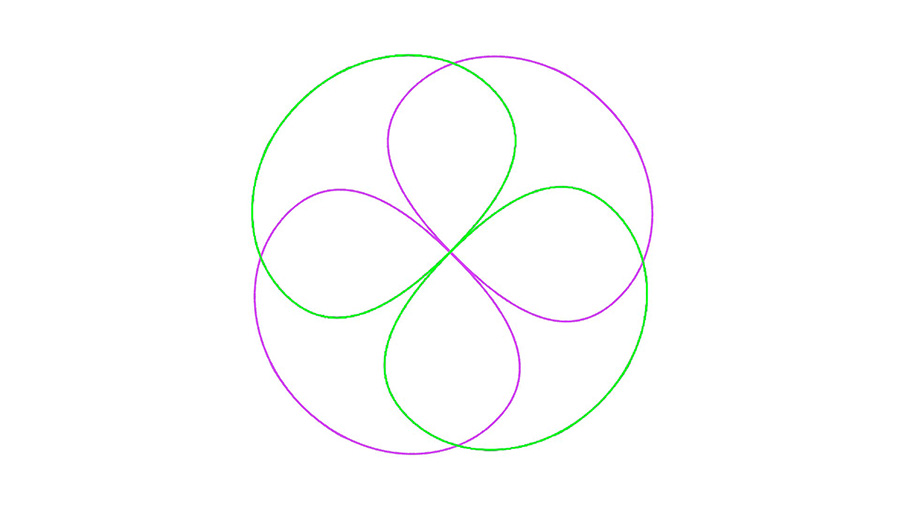
The Blumlein technique is similar to XY, but instead of using a cardioid polar pattern for each mic Blumlein utilizes two bidirectional microphones.
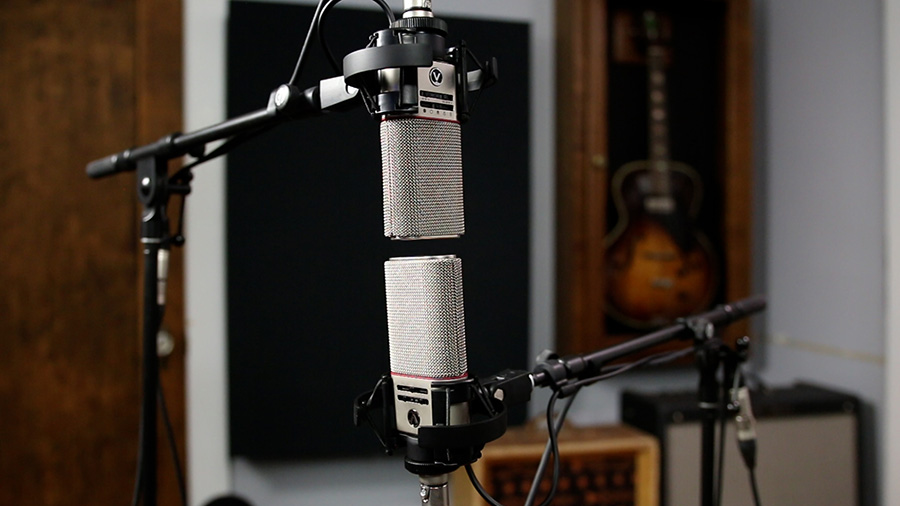
They are still perpendicular to one another and in a vertical stack. The left microphone is still hard-panned to the left speaker and the right microphone is still hard-panned to the right speaker.
You may notice that Blumlein exhibits more room sound than XY because there is an additional lobe behind each microphone picking up some of the ambience of the room. That might be more apparent if I put more distance between my voice (the sound source) and the microphones.
There is also greater separation between the left and right because a bidirectional pattern offers more side rejection than you get from a cardioid pattern.
Technique #3: Mid-Side
Mid-side typically consists of one bidirectional microphone and one cardioid microphone, although you can experiment with other polar patterns instead of cardioid.
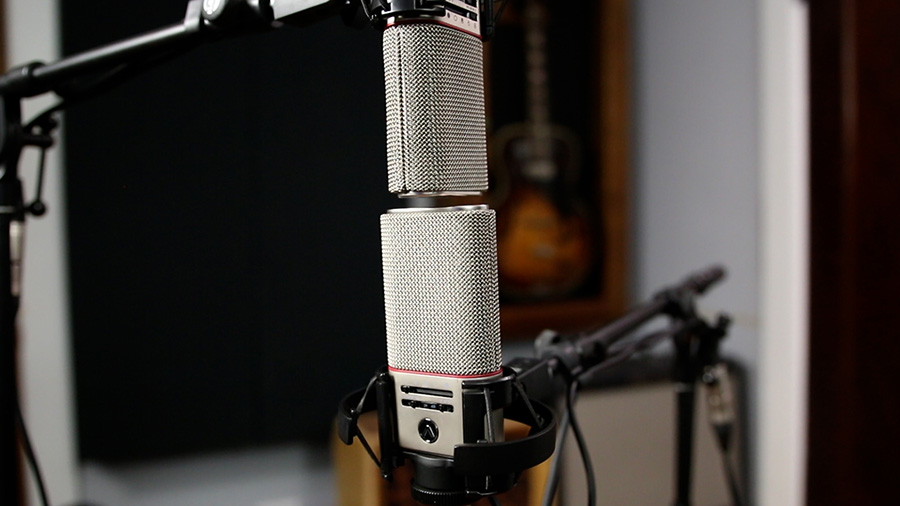
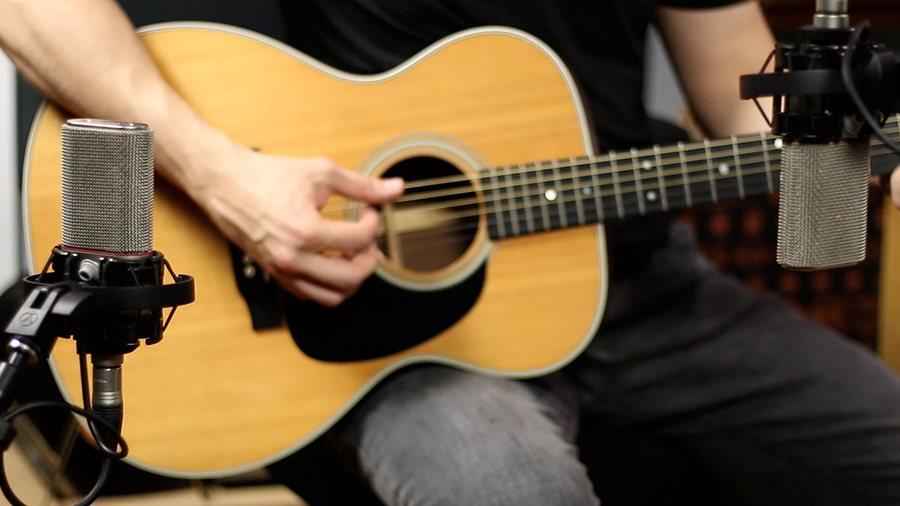
To set up a pair of microphones for mid-side, you’ll point the bidirectional microphone to the side, with the rejection point facing toward the sound source and the cardioid microphone facing the sound source directly. Make sure that the capsules are stacked vertically.
The cardioid microphone is the “mid” microphone, so we will leave it panned to the center (meaning it is equal in both the left and right speaker during playback).
The bidirectional mic is the “side” microphone. We will duplicate the signal from this mic in the DAW and invert the polarity of one copy so that the two copies are complete opposites of one another. Then, pan one copy to the left and the other copy to the right. I like to group these two channels together after this initial setup.
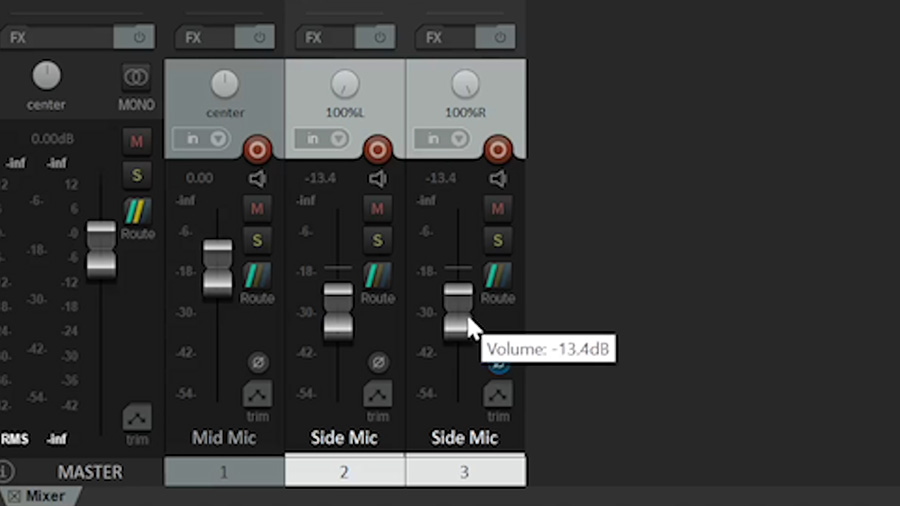
While this might seem confusing at first, it’s actually a very elegant way to achieve very powerful results. By adjusting the level of the side channels in comparison to the mid channel, we can adjust the width of the stereo image AFTER recording – something that traditionally can’t be done with the other techniques.
Mid-Side also gives us another advantage. That is that when the three channels are summed to one mono signal, the side channels will simply cancel out, leaving only the mid microphone!
As you’ll see at the end of this post, the Austrian Audio OC818 takes these three techniques to the next level with the free StereoCreator plugin that comes with the mic. So stick around because you’ll be amazed at what’s possible with these mics.
Near-Coincident Pair Microphone Techniques
The second category of stereo microphone technique is a near-coincident pair, meaning that the mics aren’t completely aligned in space, but are still in close proximity to one another.
While this does make the recording vulnerable to some phase cancellation when summed to mono, it adds the advantage of an interaural timing difference (or ITD) between the left and right speaker. This subtle difference in the time that sound arrives at each microphone adds another element of dimension to the recording.
Technique #4: ORTF
One of the most popular near-coincident pair mic techniques is ORTF. ORTF is set up using two cardioid microphones placed 17cm apart with the capsules pointing at a 110-degree angle from one another.
As I mentioned before, this separation between the two microphones mimics the separation between our ears, offering an even more immersive experience for the listener. When the sound originates from the right side, not only will it be more on-axis to the right microphone but it will reach the right microphone first before reaching the left microphone.
Spaced Pair Microphone Techniques
The next category is called a spaced pair. As you can probably guess, techniques within this category are not coincident or near-coincident but instead have much more space between the microphones.

You can set up a spaced pair with omnis, cardioids, or any polar pattern. You can even use more than two microphones if that’s what sounds best.
Compared to the previous techniques, a spaced microphone technique is more difficult to find the sweet spot. Rather than following a specific set of parameters, it’s usually best to simply trust your ears and adjust the placement until you find the desired stereo separation and center of the image.
Listen closely for any phase interactions and be sure not to separate the microphones so much as to create a hole in the center, unless that’s what you’re going for.
Innovations In Stereo Recording
You can set up any of the techniques I’ve shown you so far using traditional microphones, but the innovations built into the Austrian Audio OC818s are really taking stereo recording to the next level.
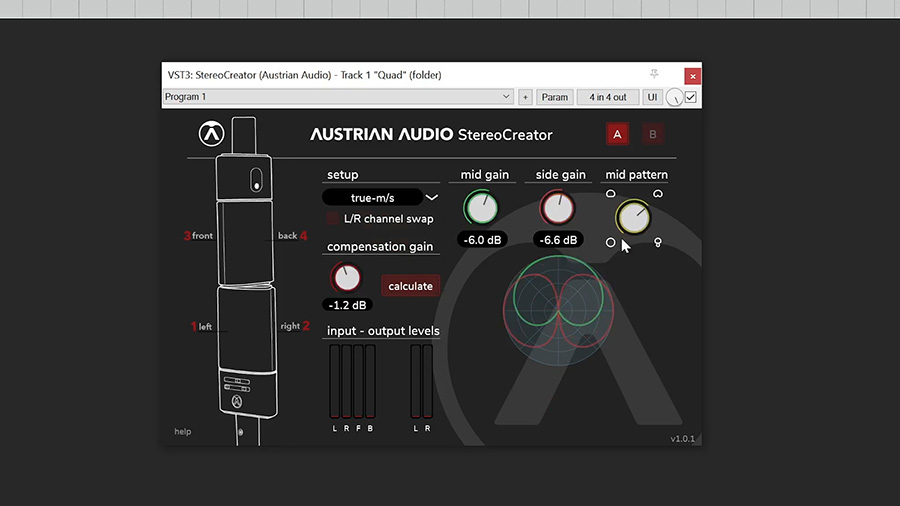
First of all, you can make a stereo recording with only one of these microphones using the included StereoCreator app. The two capsules within this microphone will be recorded separately – the front signal from the primary output, and the rear signal from the secondary output.
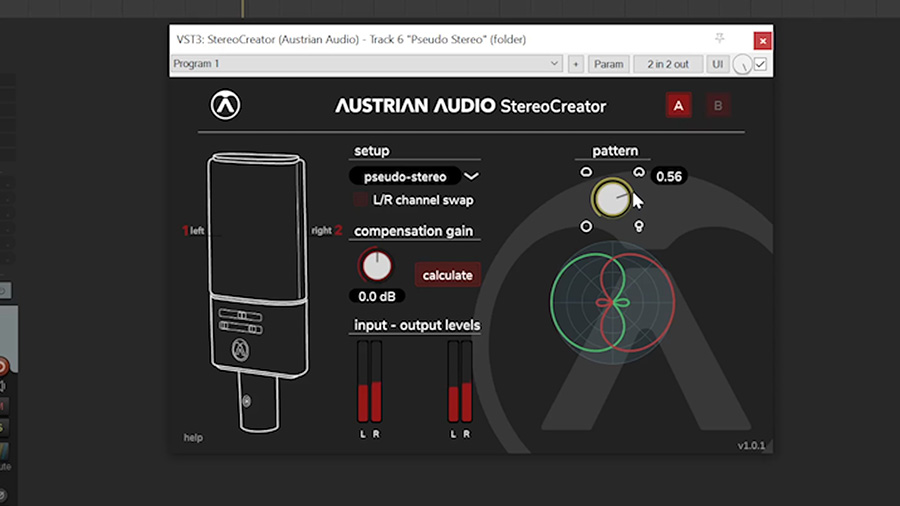
The StereoCreator app gives you the option for pseudo mid-side and pseudo stereo when using only one mic, but you can do even more with two OC818s! Using the dual output of two OC818s, you can record true mid-side, blumlein, and XY simultaneously and adjust the angle, polar patterns and rotation in post production!
I want to thank Austrian Audio for sending me these mics – I’ve really enjoyed them so far.