I’m going to help you decide which microphone to use for podcasting and live streaming.
USB vs XLR
First, you need to decide if you’ll be going with a USB microphone or an XLR microphone. For example, the Shure MV7 has the ability to operate as a USB or an XLR mic. In USB mode, you simply connect the mic to the computer with a USB cable and it’s ready to use. In XLR mode, you’ll need to connect the microphone to an audio interface and then connect the audio interface to the computer (usually with a USB cable).
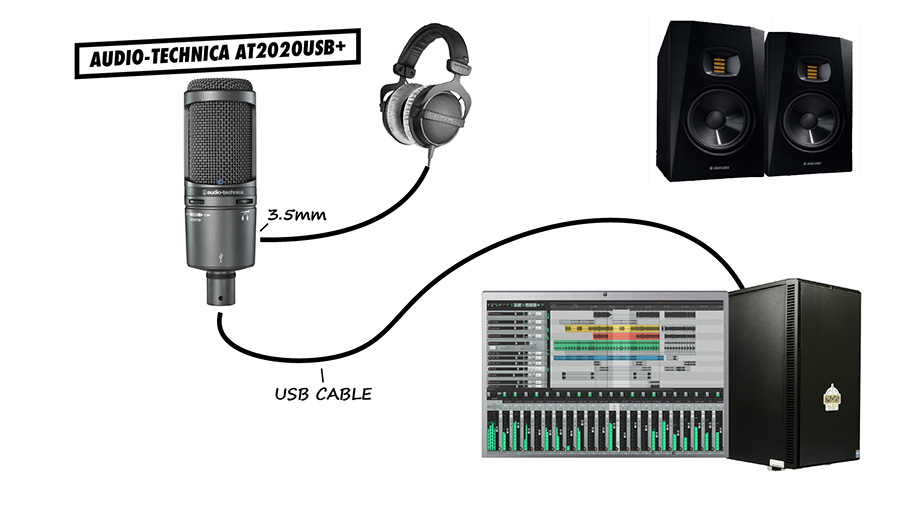
If you’re on a strict budget, the cheapest option will be to use a USB microphone. That’s because they are completely self-contained and don’t require an audio interface. You can pick up a USB microphone on Amazon for as low as $30. While I haven’t tried any of these extremely inexpensive mics, I have tried a number of USB microphones, including the Audio-Technica AT2020USB+, the Blue Yeti, and the Shure MV7. These mics all sound good enough to get started, but you may eventually begin to notice the limitations of USB microphones, compared to XLR mics.
USB mics are great for keeping everything consolidated into one device – your headphones, speakers, and computer all connect to the microphone itself. I personally find this to be pretty annoying. I think it’s much better to have an audio interface on my desk as a central hub so that only one XLR cable needs to connect to the microphone. It keeps everything clean and out of the way.
In the future, you may want to add a microphone for a guest or a co-host. Assuming your audio interface has multiple XLR microphone inputs, you can connect additional microphones very easily. XLR is an industry standard, so any XLR microphone you buy today will be compatible with any audio interface or mixer that you would buy in the foreseeable future.
So, if you’re just looking for a way to record your own voice for a solo podcast or live stream, a USB microphone is a good choice. If you are serious about podcasting or streaming and have goals to build your system over time, I’d definitely recommend an XLR microphone and an audio interface.
LEWITT CONNECT 6 Audio Interface (Sponsored)
The LEWITT CONNECT 6 audio interface is a great option for podcasting and streaming, because the features of this interface were designed with content creation in mind.
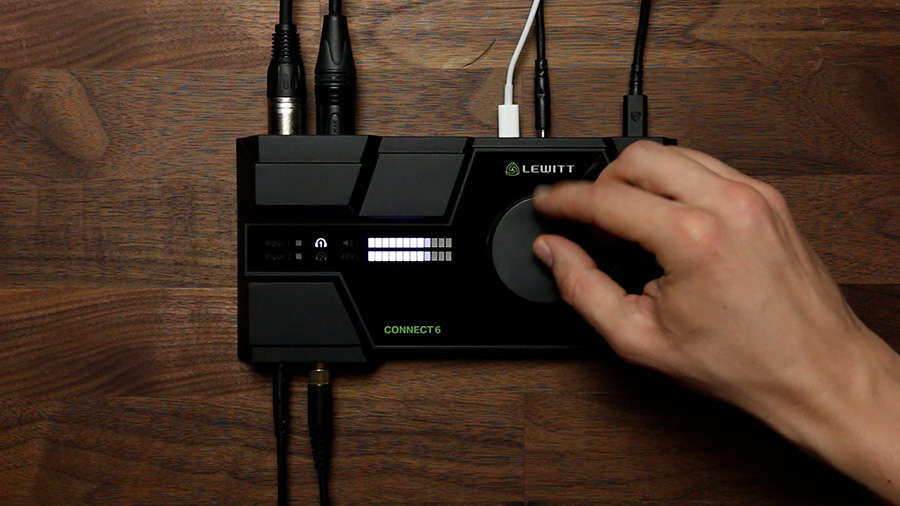
You’ll have two microphone inputs, an aux input, and the ability to route audio from various programs on your computer into your podcast or stream. That opens the door to recording remote interviews, playing background music and FX, and creating software tutorials. You can even connect a second computer or a mobile device using the dual USB-C connections on the back panel. The included CONTROL CENTER software acts as a virtual mixer so that you can create a balanced, professional-sounding mix for your audience.
Thank you, LEWITT, for sponsoring this post.
Polar Pattern
Another consideration when choosing a microphone for podcasting and streaming is the polar pattern of the microphone. The polar pattern describes the directionality of the mic. For example, the Blue Yeti is a USB microphone that can be switched between three different polar patterns: cardioid, bidirectional, and omni directional.
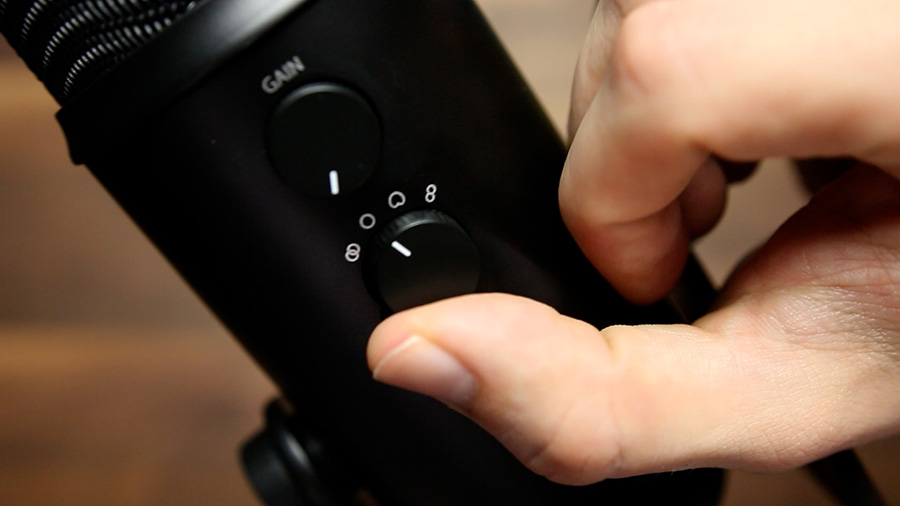
In cardioid mode, the microphone picks up sound best from the front and rejects sound from the rear. In bidirectional mode, the microphone picks up sound from the front and back and rejects sound from the sides. And in omnidirectional mode, the microphone picks up sound evenly from all directions.
Omnidirectional is useful if you want to use one microphone to record several people at once. The main issue with sharing a microphone is that there will be more distance between the person speaking and the microphone, which means you will need to turn it up louder, which will result in more room noise.
A bidirectional microphone could be used to record two people facing each other, but you’ll still need to turn it up louder to account for the extra distance from the microphone. Also, when using a single microphone, each voice will be recorded to the same track, which makes editing a bit more difficult. Using multiple microphones will record each voice to a separate track so that you can edit them independently in post production.
By far, the most popular polar pattern for podcasting is cardioid. I’d recommend using a cardioid microphone placed just a few inches away from each person. The shorter distance from the microphone will mean less gain is required, which helps keep room noise and echos to a minimum. You also get the added benefit of the proximity effect – the bass boost that is often associated with the typical radio DJ sound.
Keep in mind – while this mic can be switched between various polar patterns, most microphones have a fixed polar pattern that is listed in the specifications.
Dynamic vs Condenser
You’ll also need to decide between dynamic and condenser. I recently published a post that goes into more depth on the details, but here are the basics you need to know for podcasting…
Condenser microphones are generally more sensitive, which can be a good thing or a bad thing. While the greater sensitivity of condenser microphones and their more natural frequency response might give you a more detailed and open sound, they are also more susceptible to room noise. This goes back to the polar pattern of the mic. If you compare a cardioid dynamic microphone and a cardioid condenser microphone, you’ll probably find that the dynamic mic does a better job of rejecting off-axis sound from the sides and rear.
In my opinion, most people will be better off using a dynamic microphone because of their improved rejection of room noise and echo. I’d probably only recommend a condenser microphone to podcasters and streamers who don’t have a noisy or echoey room.
Ergonomics & Handling Noise
One thing that you should consider as a podcaster or live streamer is the ergonomics of the microphone.
I’d recommend choosing either a mic with a built-in yoke mount or a mic with a shockmount, because they’re much easier to adjust position correctly. If you’ll be recording long conversations or sessions, make sure you get something that is easy to adjust.
I’d also recommend choosing a mic with good handling noise isolation. So when you do want to move them in the middle of a podcast, you can do so without causing as much rumble and noise as you might with some other microphones.
Budget & Accessories
That actually brings me to my next point… Save room in your budget for some additional accessories.
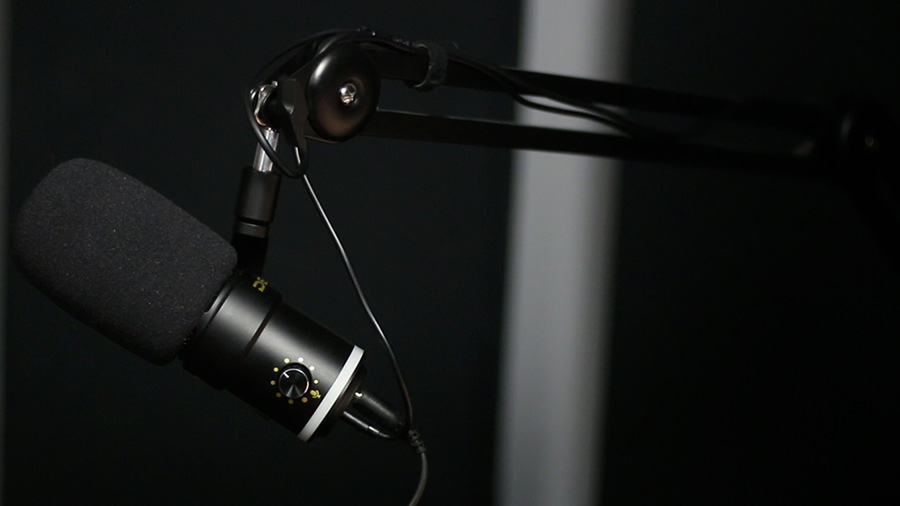
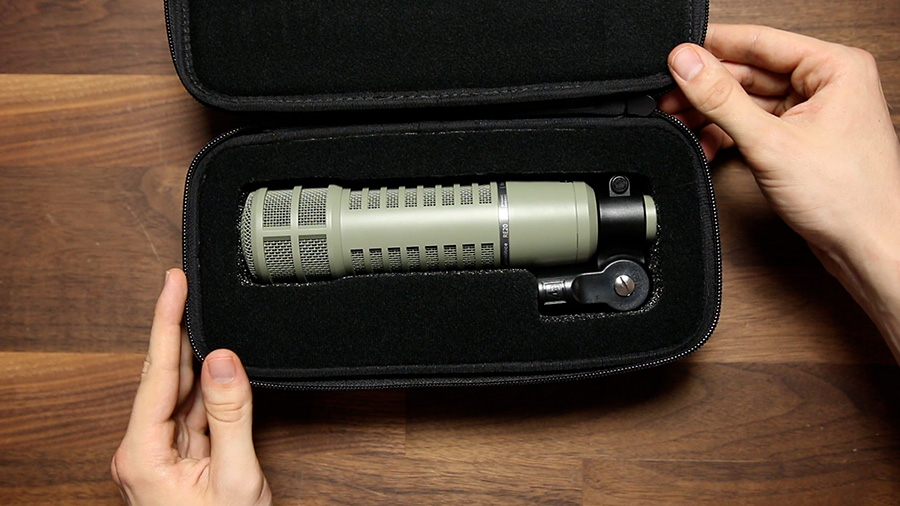
This is the Electro-Voice RE20, which is currently my favorite choice for recording my voice. However, this mic only comes with the microphone itself and a mic clip. In order to get the most out of this microphone, I will need a few extra accessories.
First of all, using a regular microphone stand for a podcast is not ideal. A floor-standing mic stand is awkward to place if you’re sitting at a desk and a desk-standing microphone stand just gets in the way. So a desk-mounted microphone arm is something you’ll probably want to work into your budget.
Second, the clip that comes with the RE20 isn’t great if you plan to move the mic around. It’s much better to use the shockmount that is designed for the RE20, but that comes at an additional cost.
Some microphones, such as the Shure SM7B, have very low sensitivity, which means they require a lot of preamp gain to get a good level. Luckily, the LEWITT CONNECT 6 has very powerful preamps that supply more than enough gain for this microphone. Plus, I project my voice and speak loudly into the microphone which means I don’t need as much preamp gain as someone who speaks quietly.
If you speak quietly and use a low-sensitivity microphone like the SM7B, you may want to consider buying a Cloudlifter or a similar inline preamp that adds extra gain to the signal.