One of my favorite things about live sound is that you have to be prepared to solve problems quickly on a moment’s notice. It can be stressful at times, but it’s very satisfying when you have what you need to solve those problems so that the show can go on.
If you have the tools that I’m about to share with you, you’ll be more prepared for whatever comes your way.
PART I: CASE
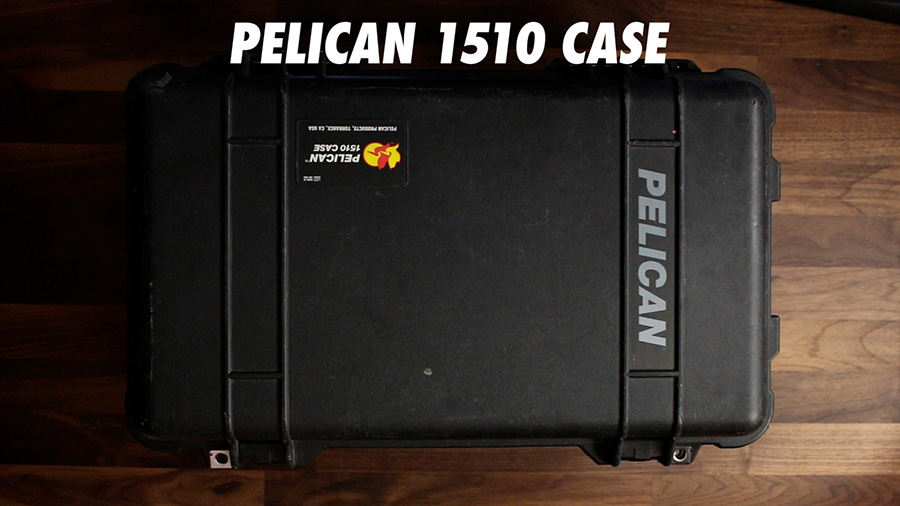
Pelican 1510 Case
The Pelican 1510 case is somewhat a standard in the industry for a personal workbox. It offers enough space for a good tool kit without being too bulky to take with you. It’s big enough to fit a 15-inch laptop and everything else you need to feel prepared on a show site.
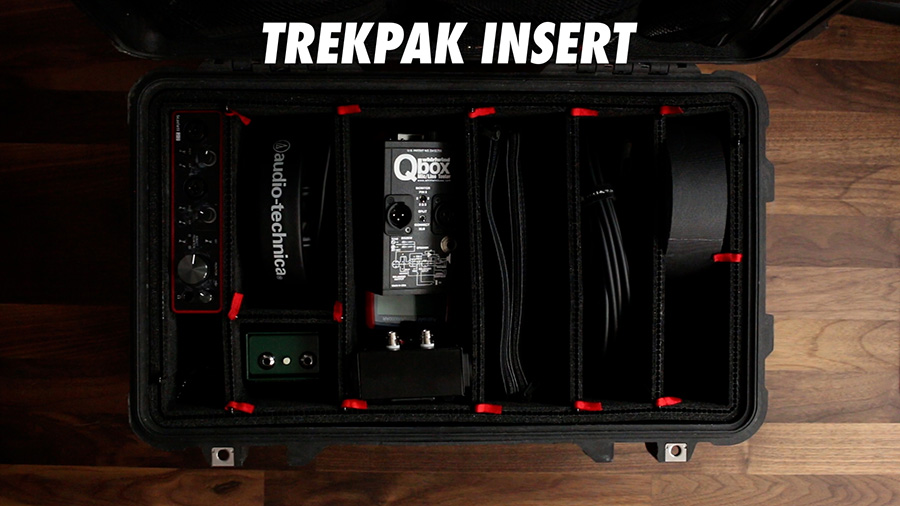
TrekPak Insert for Pelican 1510
The foam insert that comes with the case is not very good. The idea is that you pluck the foam cubes out to make compartments for your equipment. Although this might work for storing specific devices, it isn’t ideal for a tool box you’ll be working out of. The foam quickly starts to tear and your stuff gets mixed up.
The TrekPak insert is a modular system that is fully customizable. I’ve tried several inserts for the Pelican 1510 case and this is by far my favorite. It’s rugged, clean, and easy to configure/reconfigure the sections.
PART II: TESTERS & METERS
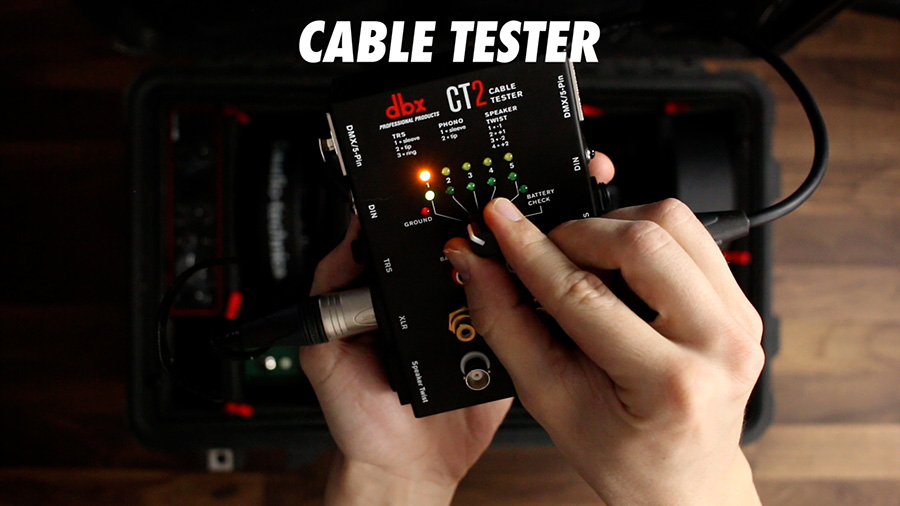
Audio Cable Tester
I always carry a simple audio cable tester with the ability to test XLR, TRS, and NL4. You can get them fairly cheap, so I’ll usually go for a middle of the road tester that looks well-built. I’ve been happy with this cable tester by dbx.
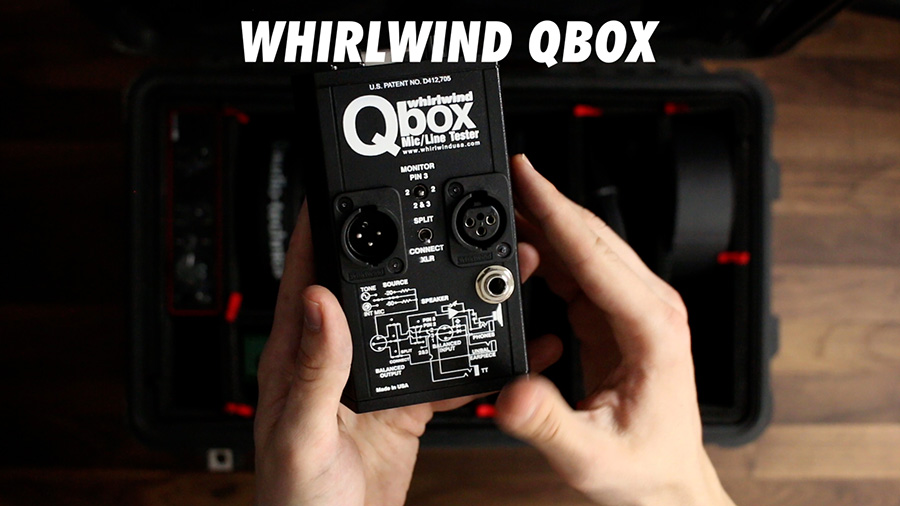
Whirlwind Qbox Tester
A cable tester is a must, but the Whirlwind Qbox is even better than a cable tester if you can carry one. It lets you test continuity, generate tones, and monitor inputs with the built-in speaker. You can plug it in at any point in your signal chain to test that you’re getting signal to that point. This is really useful when you just want to verify or check what is coming out of a specific output or cable.
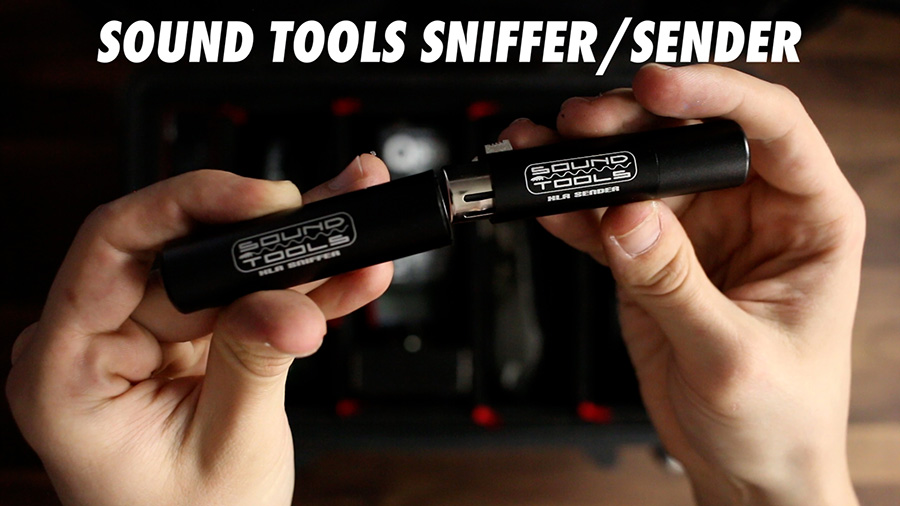
SoundTools XLR Sniffer/Sender Cable Tester
SoundTools makes some really cool stuff! This transmitter/receiver XLR cable tester is one of my favorites. It’s a two-piece tester, which makes it really useful for testing long signal paths. You connect one to the male end of the cable and the other to the female end of the cable.
The LEDs on the end will tell you if your cable is wired correctly and what is crossed or disconnected, if not. You can also quickly test sub snake heads and breakouts with the sniffer/sender by enabling phantom power. The LEDs illuminate when receiving phantom power, so you can verify that each line is connected.
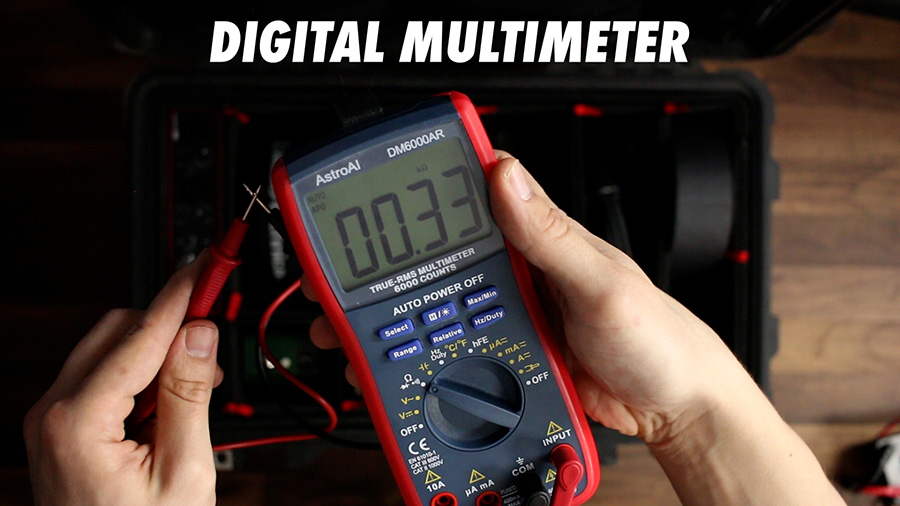
Digital Multimeter
It’s generally a good idea to carry a multimeter with you. If you’re dealing with 3-phase power and feeder terminals, it’s 100% necessary. Don’t make the mistake I made and buy a multimeter with an analog meter. I’d recommend this multimeter. It has a digital screen and isn’t that much more expensive than a cheap analog meter like my old one.
PART III: CABLES & ADAPTERS
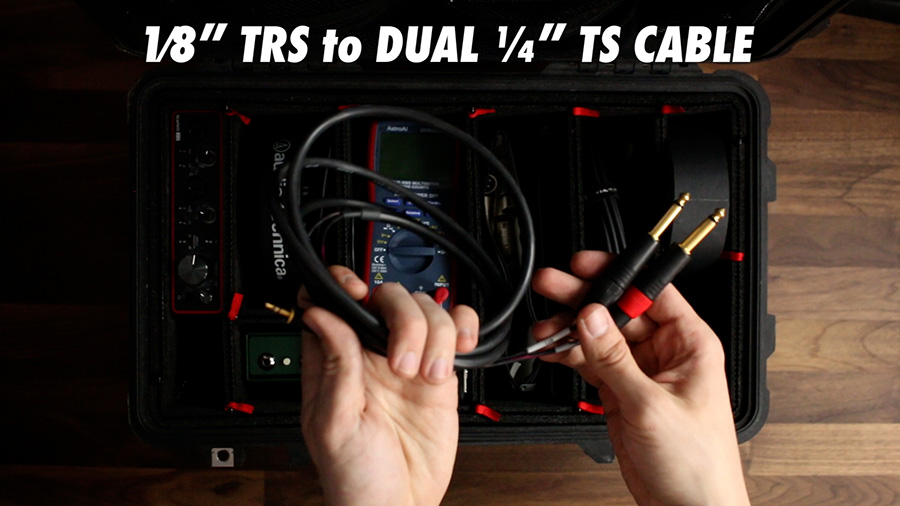
3.5mm TRS to Dual ¼” TS Cable
A 3.5mm-to-Dual 1/4-inch adapter is something you’ll use every show to connect your phone or laptop into the console to test the system. This can also be useful when you need to provide an auxiliary input on stage. Throw a DI box on this and you’re set. The great thing about this adapter compared to the 3.5mm-to-XLR adapters is that this one will connect to the line inputs of smaller mixers, helping to avoid accidentally destroying your device with phantom power.
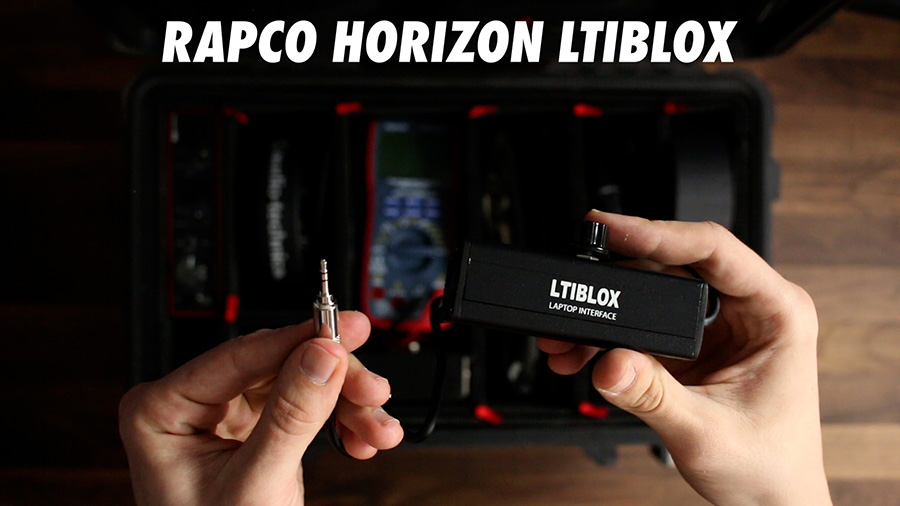
Rapco Horizon LTIBLOX
The Rapco Horizon LTIBLOX is my favorite way to get auxiliary devices into the system. It turns any 3.5mm output into a balanced signal so you can place it anywhere you need it without worrying about cable length or DI boxes. It also has a built-in level knob which is good for when you need to disconnect and reconnect a device without causing a pop. It’s perfect for on-stage aux inputs because it’s easy for non-audio people to use and sums the stereo signal into a single channel.
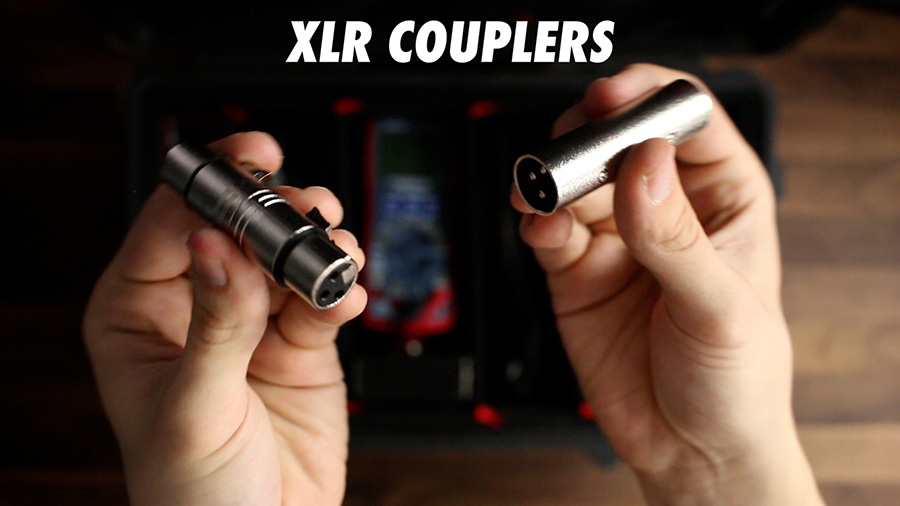
XLR Couplers
I can’t tell you how many times I’ve been saved by an XLR turnaround adapter like this one. Let’s say you have run out of input or output channels on your snake. Using an XLR Female-to-Female adapter on one end and an XLR Male-to-Male adapter on the other end will let you turn any input into an output or any output into an input. I carry at least four of each…
XLR to ¼” Adapter
I’ve also been saved by XLR to ¼” adapters. It’s common for consoles to have TRS outputs instead of XLR outputs. An XLR Female to ¼” TRS adapter will allow you to connect XLR line level outputs into a TRS input on a console. XLR Male to ¼” TRS adapters are useful when you need to connect a TRS output to an XLR input. You can also use one of each of these on each side to turn a long XLR cable into a long TRS cable.

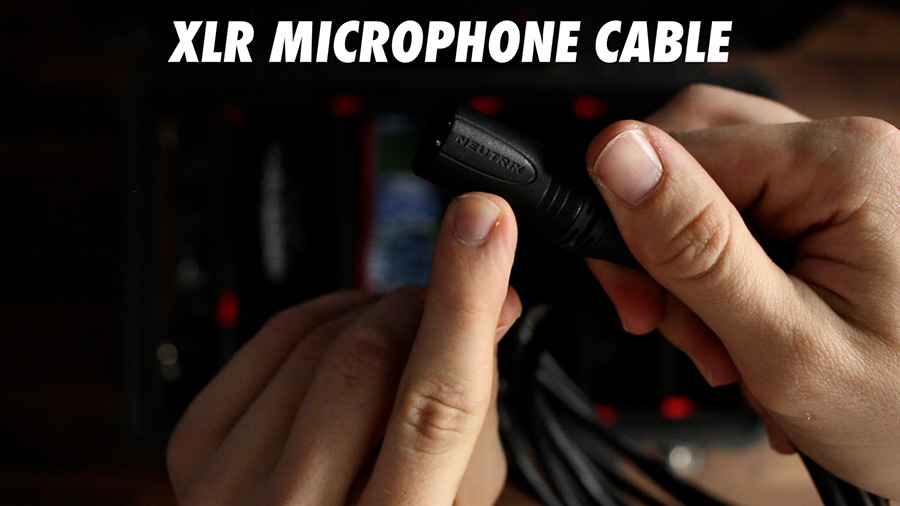
XLR Microphone Cable
Of course, you’ll want at least one XLR cable. These cables have Neutrik XLR connectors, which are more durable and easier to repair. Make sure you get cables with Neutrik connectors – there’s nothing worse than the old school type with a tiny set screw. Make sure that the cable is rugged and flexible, intended for use on stage and in studios.
PART IV: GENERAL SUPPLIES
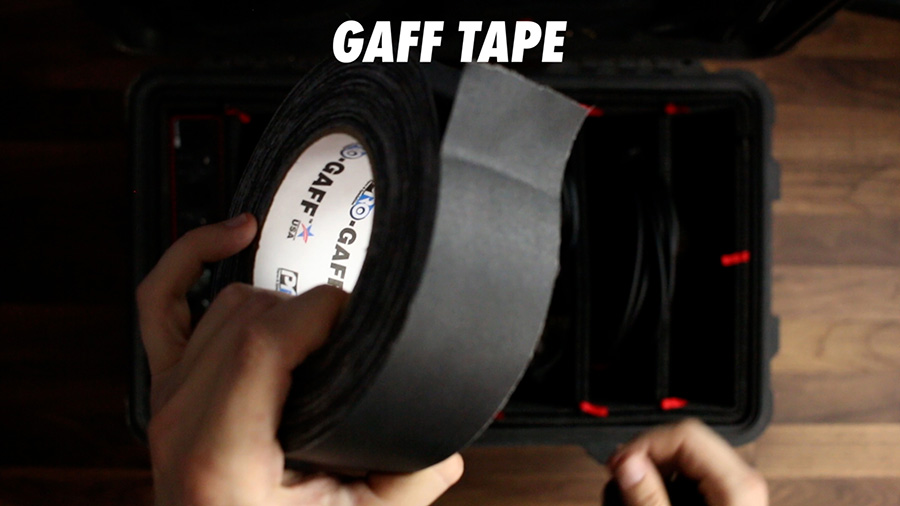
Gaff Tape
Black gaff tape is essential for taping cables down that would otherwise present a tripping hazard. Bright colored gaff tape is really good for labeling snake heads, fanouts, and DI boxes. You might even find the different widths valuable, but get yourself at least one standard roll like this one. You’ll want to get a good brand. Pro-Gaff is the type I’ve used mostly. It’s strong, easy to tear, and won’t leave sticky residue on the surface.
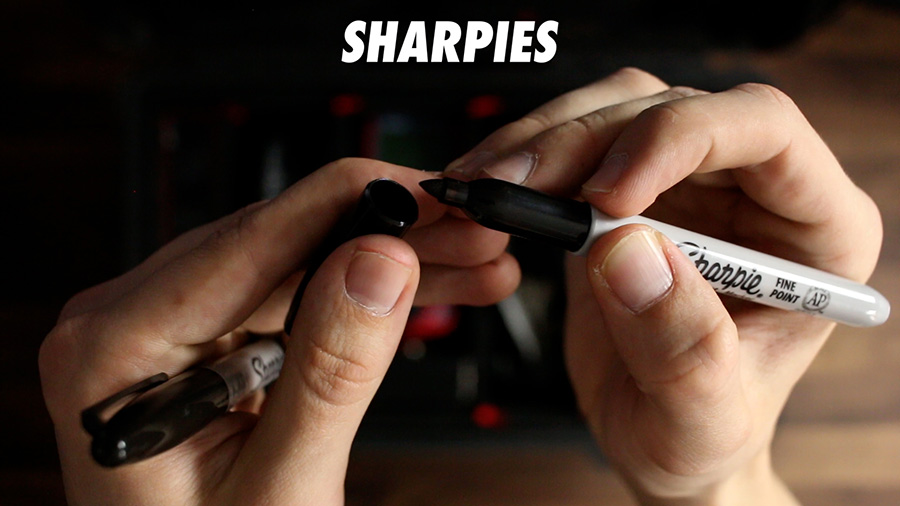
Sharpies
You can NEVER have enough Sharpies. You may even want to grab two 36-count boxes. Trust me – if you’re anything like me, you’ll lose them in no time. They are useful for labeling consoles, DI boxes, snakes, snake heads, subsnakes, subsnake heads, console fanouts, and anything else you can imagine. Carry extras so that you can lend them out to others.
PART V: MICROPHONES, DIs, & HEADPHONES
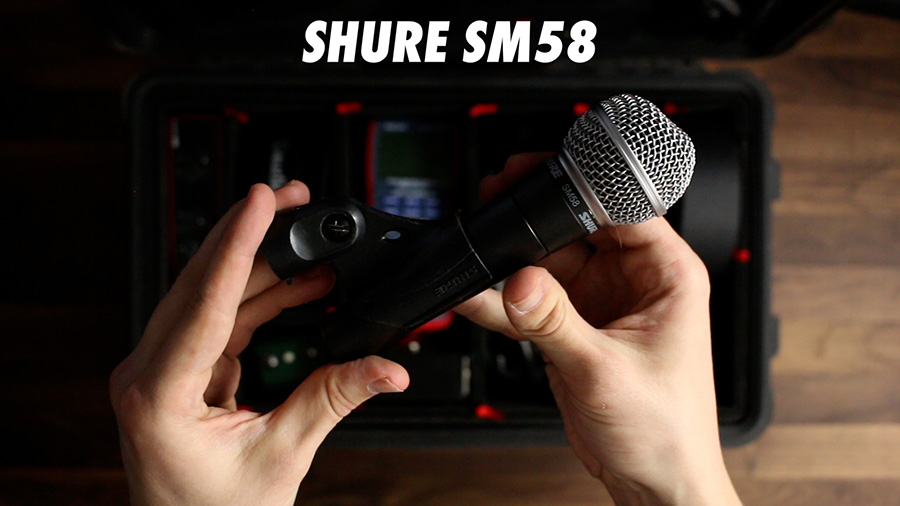
Shure SM58
You’ll probably have a full microphone kit, but it’s nice to have one of these with you just in case. The SM58 is an industry standard, of course. They are virtually indestructible – you’re more likely to lose it than you are to break it. I’d recommend the SM58S, which has an on/off switch. That way, you can use it as a talkback microphone to the performers and crew on stage without the need to mute and unmute the channel. I don’t personally have the switched version, so I’ve been using this cable by Sescom that has a switch here on the connector.
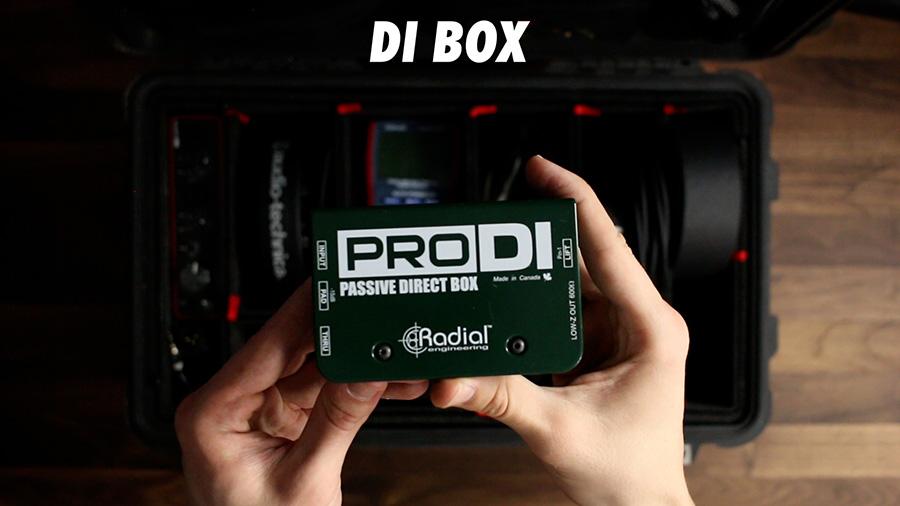
DI Box
A DI is also a good thing to have on hand. You never know when you’ll be one DI box short, and you’ll be glad you have an extra when that time comes. The Radial ProDI is rugged and reliable, but you can save some money and still get a reliable DI box by going with the Whirlwind IMP-2. You can use it for keyboards and guitars, and it’s also nice when you need to run a long line to an aux input like a phone or laptop on stage.
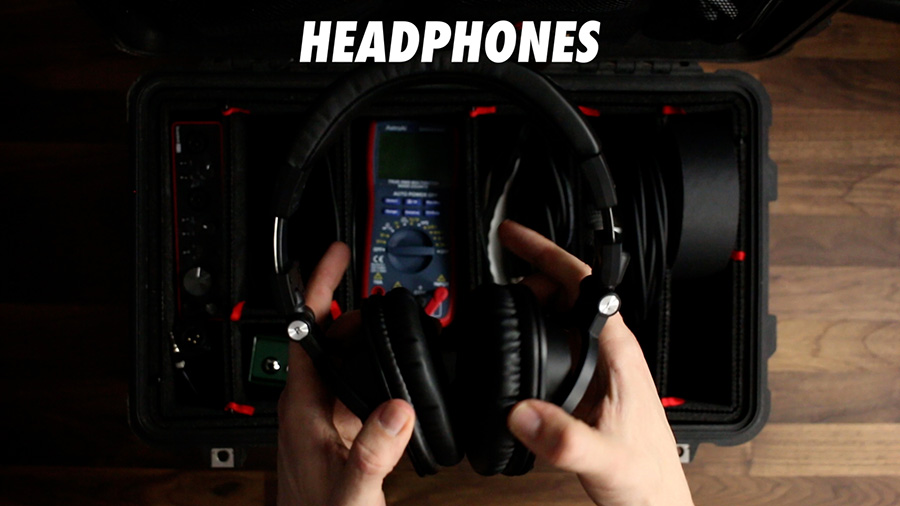
Headphones
You may have your own preference for headphones, but I’ve been happy with my Audio-Technica M50x. I’ve had them since 2011 and recently bought a new pair just like them. Whichever headphones you choose, get a pair that has a reliable sound and decent isolation, so they can become your baseline reference for tuning and mixing.