If you’re reading this post, it means that you’ve embarked on the endless (and often expensive) pursuit for the best tools and the best sound for your home studio. Before you get discouraged by the endless audio gear available, consider that there are only a few essential pieces of audio production equipment that you need to make professional-sounding recordings.
This is a list of essential gear for your home studio – my recommendations for someone just getting started in the recording industry.
Home Recording Studio Essentials
The essential equipment for a home recording studio includes:
- Computer
- Digital Audio Workstation (DAW)
- Audio Interface
- Speakers (or Headphones)
- Microphone (with Stand)
- Cables
If you start with these basic items, you’ll have a good foundation to build upon as you learn more about recording and the tools available.
Even just these essential items can range from less than $300 to several thousands of dollars! In this list, you’ll find the items in these categories that I would recommend for someone who is just starting out in audio production.
Computer
Don’t stress too much about the computer at first. If you have access to a computer or laptop currently, it is probably sufficient for getting started.
Ideally, you would want a computer with a lot of RAM, a lot of processing power, and a fast hard drive, but this will become more important later down the road, so start with what you have or what you can afford right now.
Here are the minimum requirements I’d look for if I had the budget to buy a new computer:
| Operating System | Windows 10 or MacOS 10.13 (or higher) |
| CPU | 2.4 GHz i5 or i7 Quad-Core Processor (minimum) |
| RAM | 16 GB (minimum) |
| Storage Capacity | 500 GB (preferably SSD – solid state drive) |
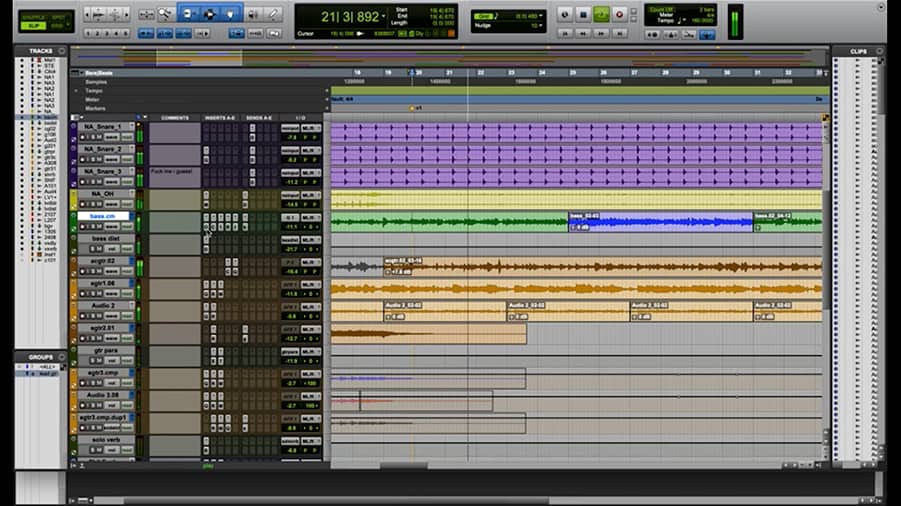
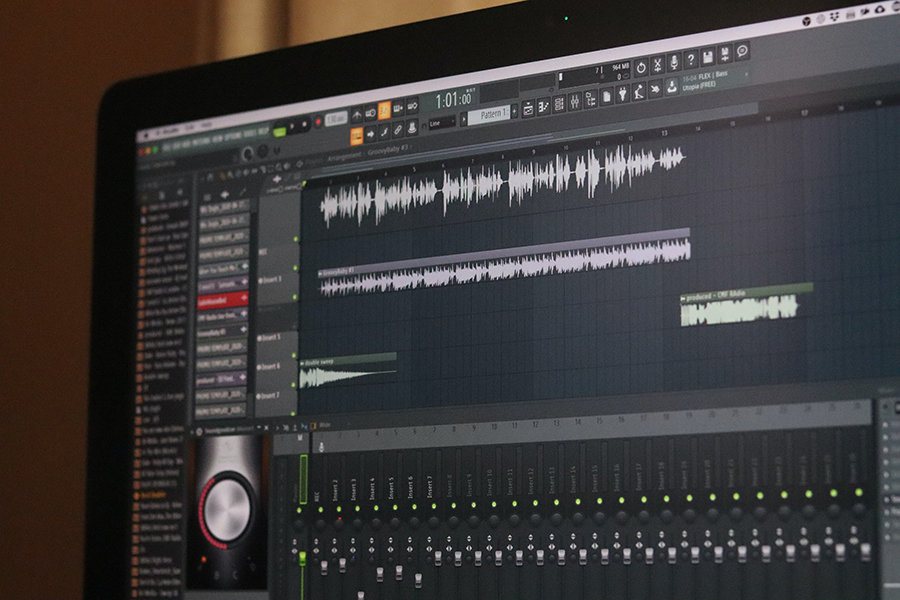
Digital Audio Workstation (DAW)
A DAW, or Digital Audio Workstation, is a software that allows you to record and playback audio. You can also edit and mix recordings within a DAW.
The DAW you choose will come down to budget and preference. Here are some popular options:
| DAW | Pricing (November 2020) |
|---|---|
| Audacity | Free |
| Garage Band | Free |
| Reaper | Free / $60 / $225 |
| Logic Pro | $200 |
| Studio One | $100 / $400 |
| FL Studio | $100 / $200 / $300 / $400 |
| Reason 11 | $100 / $400 / $600 |
| Cubase | $100 / $338 / $589 |
| Ableton Live | $100 / $450 / $750 |
| Pro Tools | $600 |
| Nuendo | $1000 |
There are plenty of differences between each of these options that you’ll learn to appreciate later down the road. Audacity and Reaper are powerful – and free to use! Both of these options are great starting points for learning how to use DAWs.
The great thing is that all of these platforms have similarities, so skills in one software can easily translate to others.
Each of these options also offer a good collection of built-in effects and processing plug-ins. There will likely come a time where you will want to experiment with premium plug-ins, but you can make professional-quality mixes using the plugins that come with your DAW.
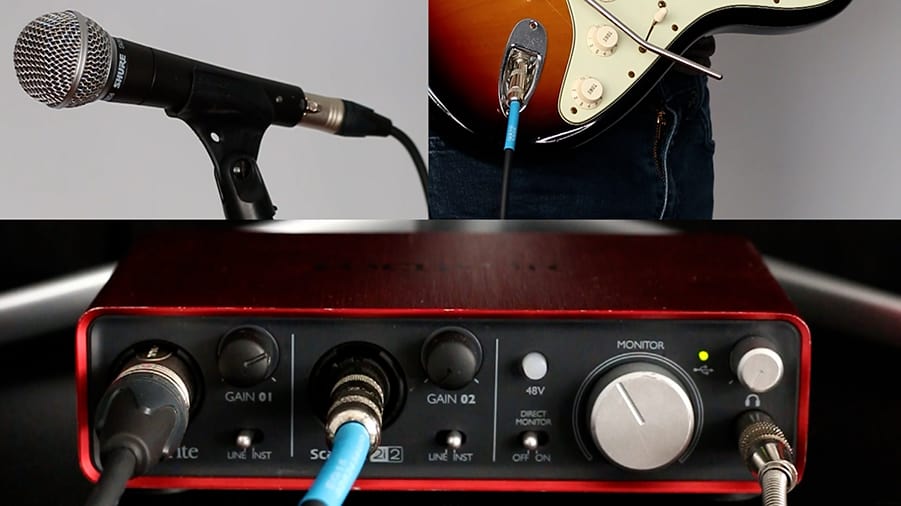
Audio Interface
An audio interface is the device that allows you to record and playback audio from the DAW on your computer. It is one of the most important parts of your home recording studio.
Most audio interfaces include microphone preamplifiers, or preamps. Cheap microphone preamps make for noisy recordings. You should try to prioritize decent preamplifiers, as they can be one of the biggest factors in sound quality.
I recommend the Focusrite Scarlett 2i2 audio interface. For years, the Focusrite Scarlett series has been one of the best options below $200.
It offers very good microphone preamps for the price and gives you everything you need to get started in recording. The best part is – as you develop your skills, this interface will continue to cover the basic needs of a simple studio for years to come.
If you’re not sure which Focusrite Scarlett interface is right for you, I recommend reading this post I wrote that explains the differences between the Focusrite Scarlett interfaces.

Speakers (or Headphones)
You need something to hear your recordings and mixes that will give you an accurate picture of what is going on. If you use low-quality speakers, you may not be able to hear certain problems with your recordings. The speakers you choose will be the lens that you look through, so it’s important that they are accurate!
My first pair of monitors were the JBL LSR308Ps. They still work and sound really good for the money I spent on them. The newest model is even better! You can read all about them in this post I wrote about the JBL 3 Series Studio Monitors.
If you are on a budget, the JBL 306p MkII studio monitors are my recommendation. They go for about $200 the last time I checked. Remember, that’s $200 each. You’ll need a pair of them for stereo.
There are a few problems with studio monitors, though.
The first problem is that studio monitors aren’t cheap. The JBL 306p MkII is relatively inexpensive. Many studios have multiple pairs of monitors that cost several thousands of dollars each!
In addition to the cost, studio monitors are also limited by the acoustical environment of your space. If you have a room that is not acoustically treated, the sound from the speakers will be degraded. You can learn more about why this happens in this post I wrote about comb filtering and phase interference.
If you will be using studio monitors in your room, you should also consider treating your room with some heavy drapes or other thick, heavy material that can absorb sound that would otherwise reflect off of the walls. Once you’ve treated the biggest acoustical problems in your room, you can use a plug-in like Sonarworks Reference 4 to correct your system with EQ.
The truth is – most of us who are just getting started simply can’t afford studio monitors and all of the other expenses that come with using them! Fortunately, headphones are a simpler and less expensive option that could be better for many people.
If you are on a tight budget or you have a room that isn’t acoustically treated, headphones are probably a better option than speakers. Most studio headphones offer a very accurate sound. Plus, they don’t interact with the acoustics of your room, so you don’t need to worry about acoustic treatment.
When I was a student studying Audio Production in college, everyone used the Audio-Technica ATH-M50x headphones. I still use mine today! It’s been almost 10 years!
The ATH-M50x are just reliable. They don’t sound amazing, but they are pretty accurate and useful for professional audio. You want to make sure not to fall into the trap of buying headphones that are fun to listen to. For recording and mixing, you want headphones that tell the truth about how your recordings sound.
Microphone (and a Microphone Stand)
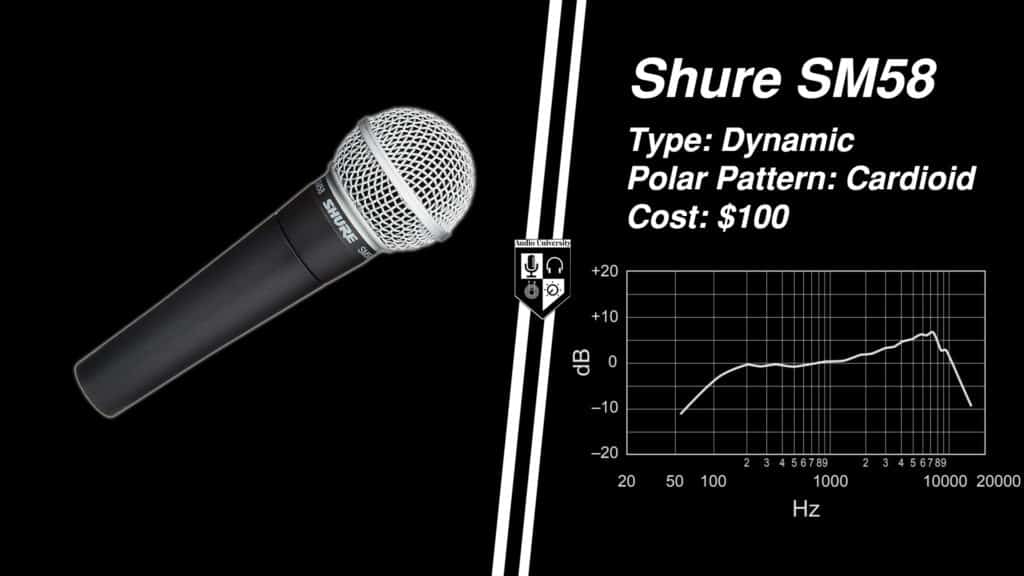
There are a lot of opinions out there regarding which microphone is the best for beginners. I believe mostly everyone should start with the Shure SM58.
You can spend $150 for a cheap condenser microphone that you will want to stop using when you get more serious about recording. Or, you can get a professional microphone for $100 that you will continue to use for years.
The SM58 is a microphone everyone should have. There are definitely better microphones out there, don’t get me wrong. The SM58 is just the best microphone to start with.
Even if you decide to buy a different microphone, I urge you to avoid getting a USB microphone. Make sure to get a microphone with an XLR output so that it can work with other professional audio equipment.
Don’t forget the microphone stand! When I was in high school, I tried everything to use a microphone without a stand – suspended from the ceiling, propped up on a stack of books, unimaginable amounts of duct tape. Just use a microphone stand.
You can pick up a cheap mic stand like this AmazonBasics stand for less than $30. It will do the job for a year or so, but then you might start to struggle to get it to stay in place. If you can afford to start with a high-quality stand like this K&M stand, you’ll save a lot of money in the long run.
I really love K&M microphone stands. I wrote this post that explains why I’ll never buy another stand again.
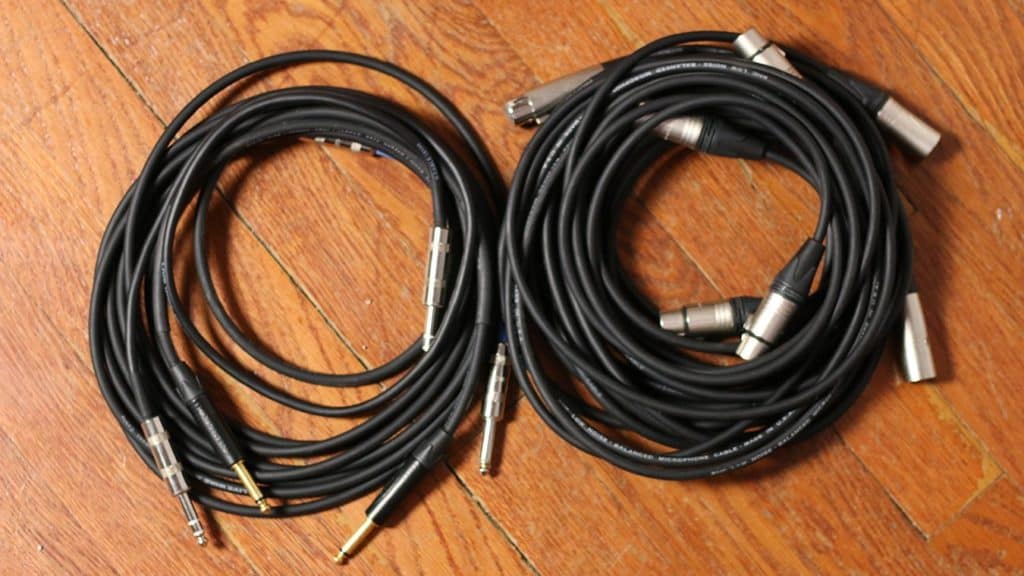
Cables
The last item on the essentials list is cables to connect everything together. You’ll need XLR cables for connecting your microphone, instrument cables for connecting your guitar or keyboard, and perhaps some TRS cables if you choose to use studio monitors in your studio.
My biggest recommendation here is to make sure you get cables with Neutrik connectors. The links in the table below are the cables I recommend.
Here is a list of essential cables for a beginner home studio:
| Quantity | Type | Length | Purpose | Where to Buy |
|---|---|---|---|---|
| 4 | XLR Microphone Cable | 25′ | Microphones | Amazon |
| 2 | TS Instrument Cable | 10′ | Guitars, Keyboards, Drum Machines, etc. | Amazon |
| 2 | TRS Balanced Line Cables | 10′ | Studio Monitors, Line Inputs | Amazon |
| 1 | 1/8″ Stereo TRS to Dual 1/4″ TRS Adapter | 6′ | Auxiliary Devices (Smartphones, etc.) | Amazon |
The Foundation of Your Home Studio
If you follow the recommendations on this list, you’ll have everything you need to get started. Plus, the items I’ve chosen to include on this list are not unprofessional. They will support you as you grow over the next few years.
As you expand your studio and your skills, you can simply build onto the foundation you’re setting with the items on this list. Start simple, learn the basics, and you’ll be amazed with how quickly you can pick it up and improve the sound of your recordings!