I’m going to show you the three keys to optimizing your studio monitor setup so you can get the best sound possible.
Step #1: Positioning Your Studio Monitors
The first step to optimizing your studio monitors is to consider the room setup and studio monitor placement.
The acoustics of the room affect the sound at your ears, so it’s just as important to optimize the acoustics within the space as it is to invest in high-quality studio monitors. If you can follow a few simple guidelines, you will set yourself up for success and save yourself a lot of frustration later on.
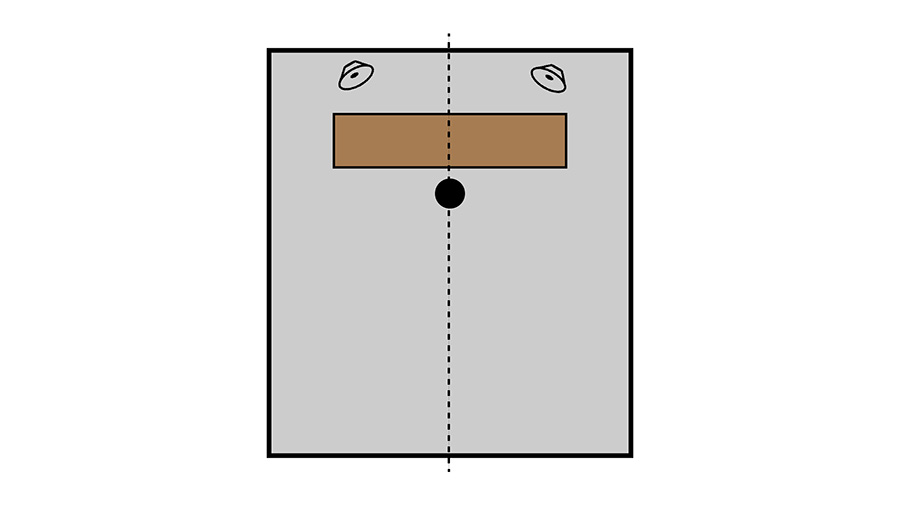
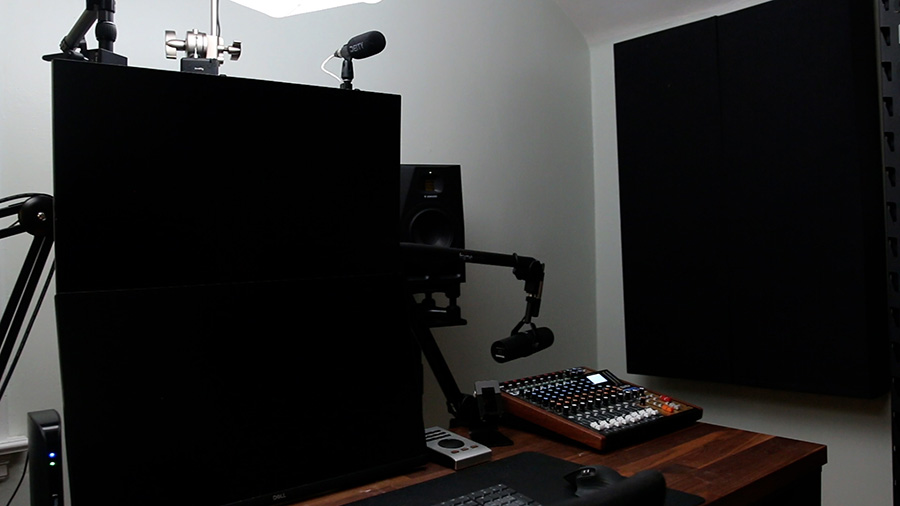
Most of us are working in a relatively small, rectangular bedroom studio space. I’d recommend placing your studio monitors along one of the short walls in your room so that the longest walls are to your left and right. Ideally, the space will be symmetrical from side-to-side so that the stereo image from your speakers will be balanced and accurate.
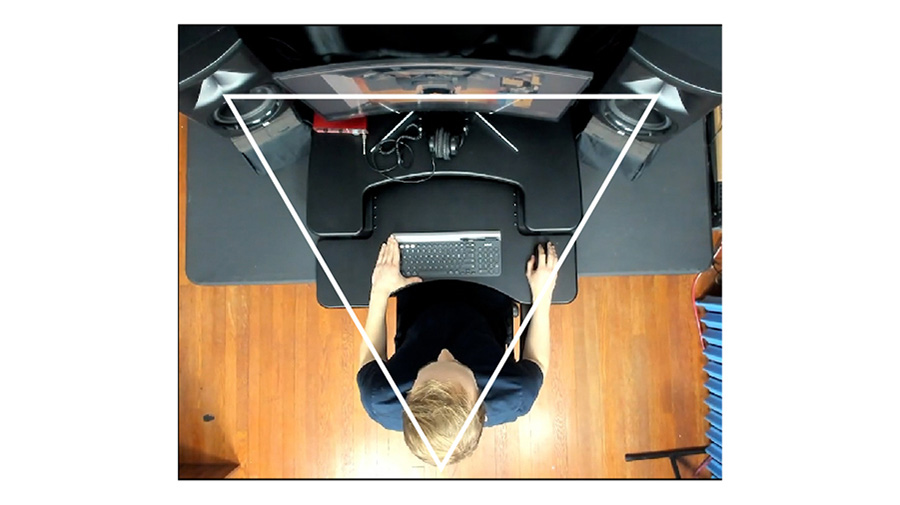
The general rule for setting up a pair of stereo studio monitors is to place the speakers so that there is an equilateral triangle between the listening position and the speakers. In other words, the distance from the listening position to each speaker should be equal to the distance between the speakers.
The size of the triangle will be determined by the space in your room and the speakers you’re using. Each set of studio monitors is capable of producing sound up to a certain level. If you’re working with particularly powerful speakers, they can be placed further from the listening position, while weaker monitors will need to be closer to you. In a small room, a pair of near-field studio monitors will probably be within about 2 to 4 feet from the listening position, but this can vary.
In my room, I’ve placed the studio monitors as close to the front wall as possible with the listening position at about 3/8ths of the way into the room. This is not 100% necessary, but it’s based on the resonant frequency between the front and back wall. You can learn more about this concept in my post on room modes.

Once you’ve found the right spacing between the speakers and your listening position, make sure that the speakers are pointing directly at the listening position. On the horizontal plane, this can be achieved by turning each speaker inward by 30 degrees. To align the speakers on the vertical plane, you may need to utilize studio monitor stands.
The goal here is to ensure that the listening position is on-axis to the high frequency drivers of your monitors. That’s because high frequencies are more directional than low frequencies. If the speakers aren’t aligned with the listening position, it may sound dark or dull.
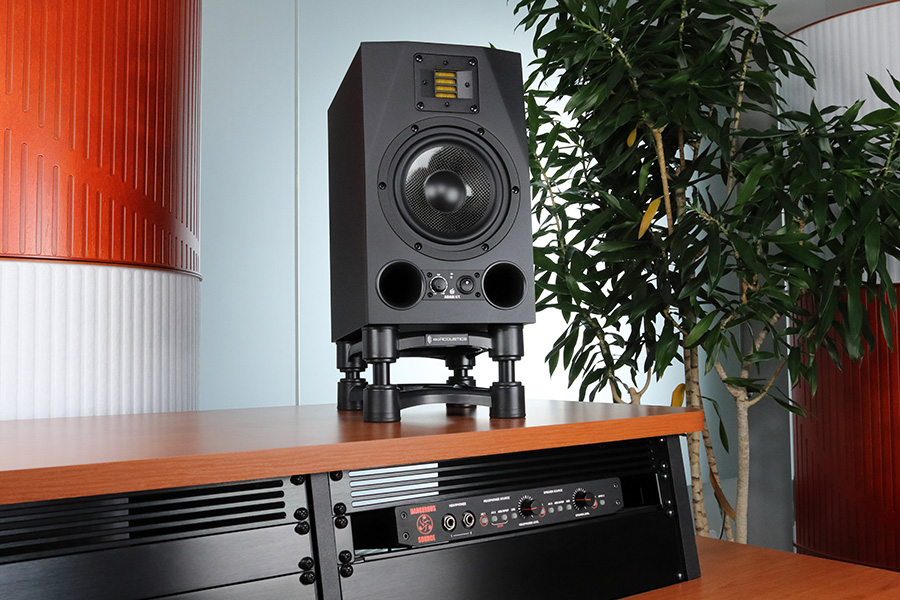
I’m currently using these studio monitor floor stands with a pair of IsoAcoustics ISO-200 isolation stands. IsoAcoustics sent me a few sets of ISO stands for my monitors and has sponsored this post to support the channel and help you understand their products better. I’ll get to the main reason why I use these later in the post. It has to do with the way they isolate the speakers from the stand or desk. But another reason they are useful is for positioning the speakers vertically.
The ISO-200s come in a kit that allows for short, tall, and even angled configurations. Right now, I’m using them in short mode. But, if you are placing your studio monitors directly on your desk with no stands, you can use them in tall mode to boost them up to the correct height. Then, you can fine tune the alignment with the angled configurations so that the high frequency drivers are pointed upward or downward toward your ears.
Step #2: Connecting Your Studio Monitors
The cabling between your audio interface and studio monitors is pretty simple, but will depend on the specific studio monitors and interface you’re using. My interface has ¼-inch TRS outputs, while my studio monitors have XLR inputs. So, I’ll use a ¼-inch to XLR adapter cable.
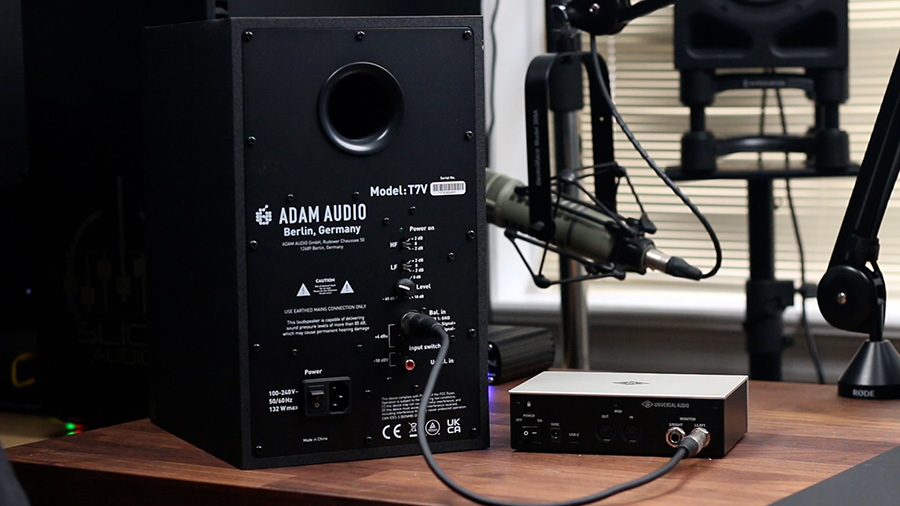
TRS and XLR are basically the same, just a different shape. They are both capable of facilitating a balanced connection between an audio interface and your studio monitors. Just make sure that you use a TRS cable (with a tip, ring, and sleeve) and not a TS cable (with only a tip and a sleeve). You’ll just need to choose whichever cable or adapters that are needed to connect the output of your interface into the input of your studio monitors.
Audio University has in-depth posts on audio connectors and balanced audio.
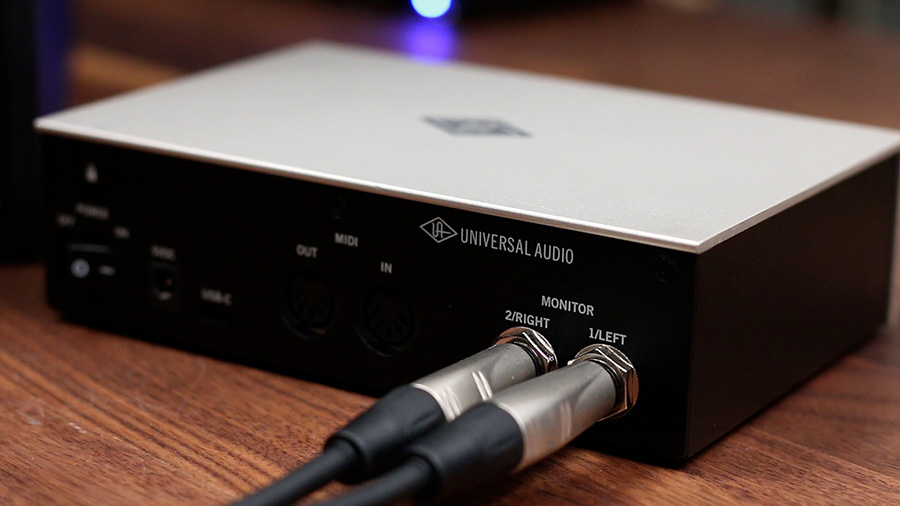
Most audio interfaces will have a specific pair of outputs dedicated to connecting to studio monitors. These are often labeled as the “Monitor” outputs. This pair of outputs will be controlled by the “Monitor” volume knob on the interface.
Many studio monitors are powered by an internal amplifier. This is the case with my monitors, so I’ll connect them to power with the included power cable.
Step #3: Tuning Your Studio Monitors
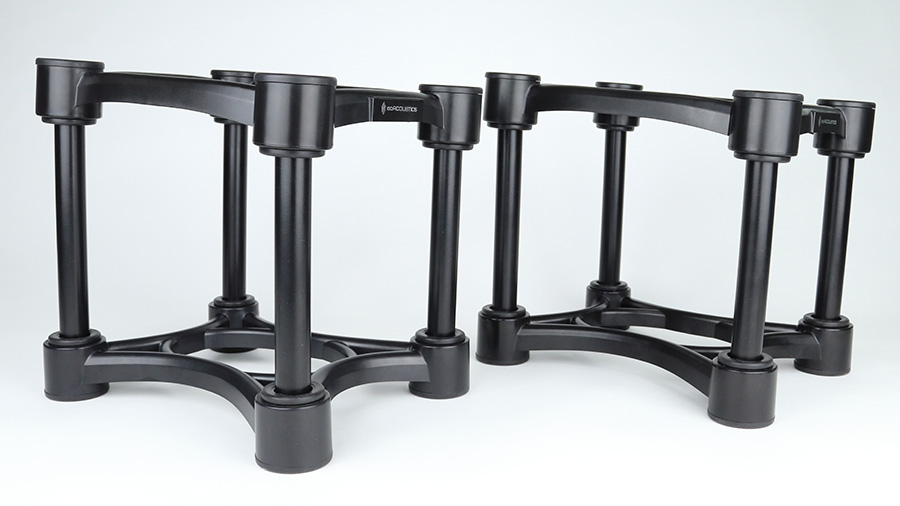
The next step is to tune your system to sound as accurate as possible. In addition to the positioning guidelines we have followed, there are a few more tactics for optimizing the performance of your system. This brings me to the main reason that I use the IsoAcoustics ISO-200s – to isolate the monitors from the desk or studio monitor stand.

If I didn’t use these isolation stands, the vibrations from my studio monitors would be transferred into the stands and then into the floor. If you place studio monitors directly onto a desk, the desk will vibrate and resonate with the studio monitors. In either case, these vibrations and resonances will affect the frequency balance within the room.
IsoAcoustics has options for various studio monitors and speakers. Use this IsoAcoustics Calculator that will recommend the best solution for you based on your specific equipment.
The frequency response of your speakers and room acoustics will both have a large impact on the sound quality of your system. The sound from the speakers will reflect off of the desk, walls, and ceiling. These reflections create acoustical interactions that impact the sound quality at the listening position. To counteract this, it is helpful to use acoustic absorption along the walls and ceiling.
I’d recommend prioritizing acoustic treatment in the first reflection points in the room – the points along the side walls and ceiling where the sound travels directly from the speaker to the listening position. These points can be easily identified by sliding a mirror along the wall until you can see the studio monitor from the listening position.
The thicker the panel, the better. Consider investing in panels that are at least 4 inches thick so that they are effective across more frequencies, rather than just the high frequencies. Thin panels may have the effect of dulling the sound in the room by absorbing high frequencies disproportionately to low frequencies.
As a final touch, you can utilize corrective EQ or system correction software like Sonarworks. This is the last step though, because while these solutions may be capable of solving some frequency-related problems, they are not capable of solving all of them. And they are very limited in their ability to solve time-related problems with reverb and resonance within the room.
Now that we’ve covered the basics, let’s take a closer look at how to optimize your room for recording and mixing. Go ahead and check out this post next.